I AM Barbara is a classic shirt pattern with an added dose of bonkers. With three flounce variations and the option to ditch the flounce altogether and stick with the classic shirt, you can tailor this to your preferred level of quirkiness. I’ve never seen a design like this, and with so many shirt sewing patterns out there, I was really excited to see something new and unique on the home sewing market. Plus it’s fun. And who doesn’t need a bit of fun in their wardrobe?

The pattern
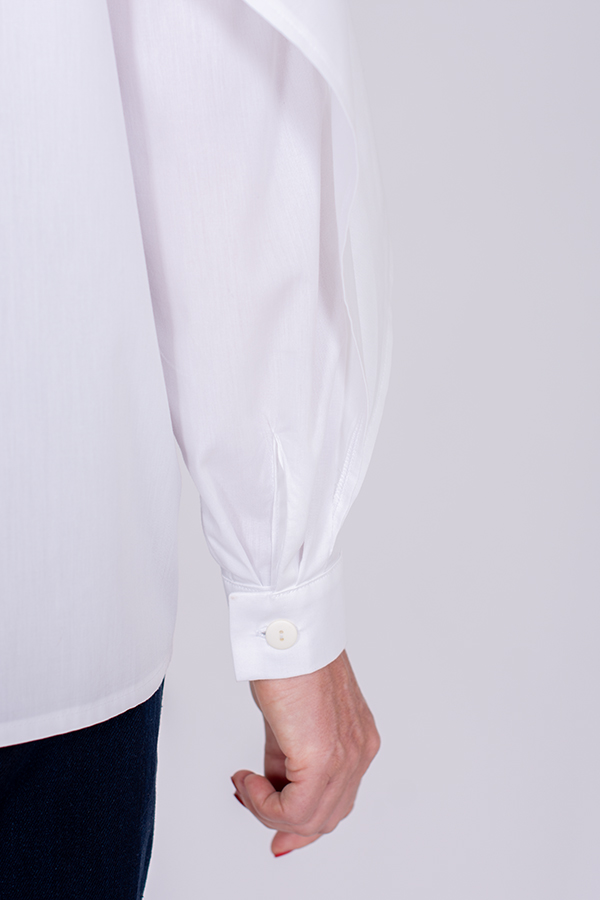
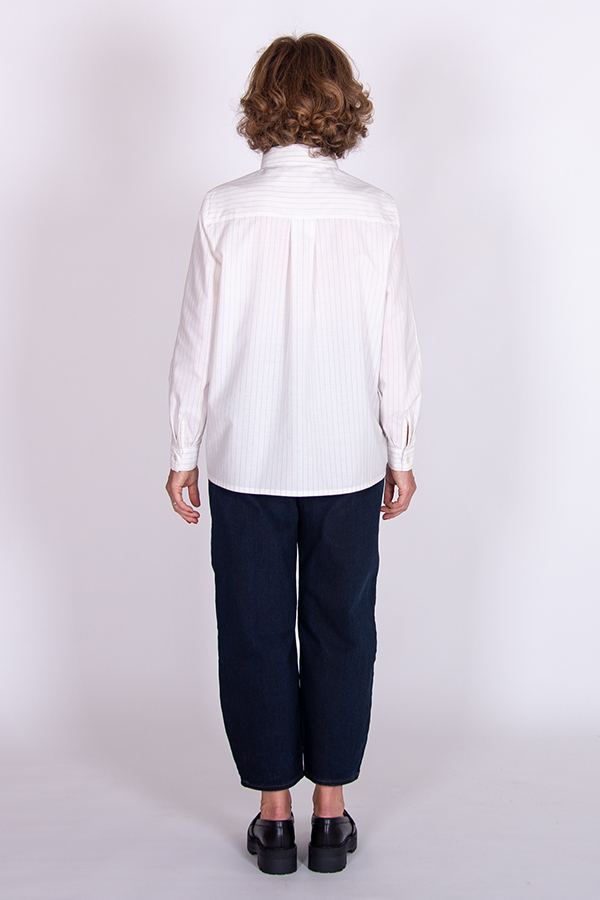
I AM Patterns’ Barbara comes in two lengths – shirt and dress, and there are three flounce sizes plus the option to go classic; sans-flounce, if you will. The pattern has all the makings of a traditional shirt: proper cuffs with a slit opening, a back yoke, centre back pleat, a classic collar and stand, and a hidden button placket.

The fabric
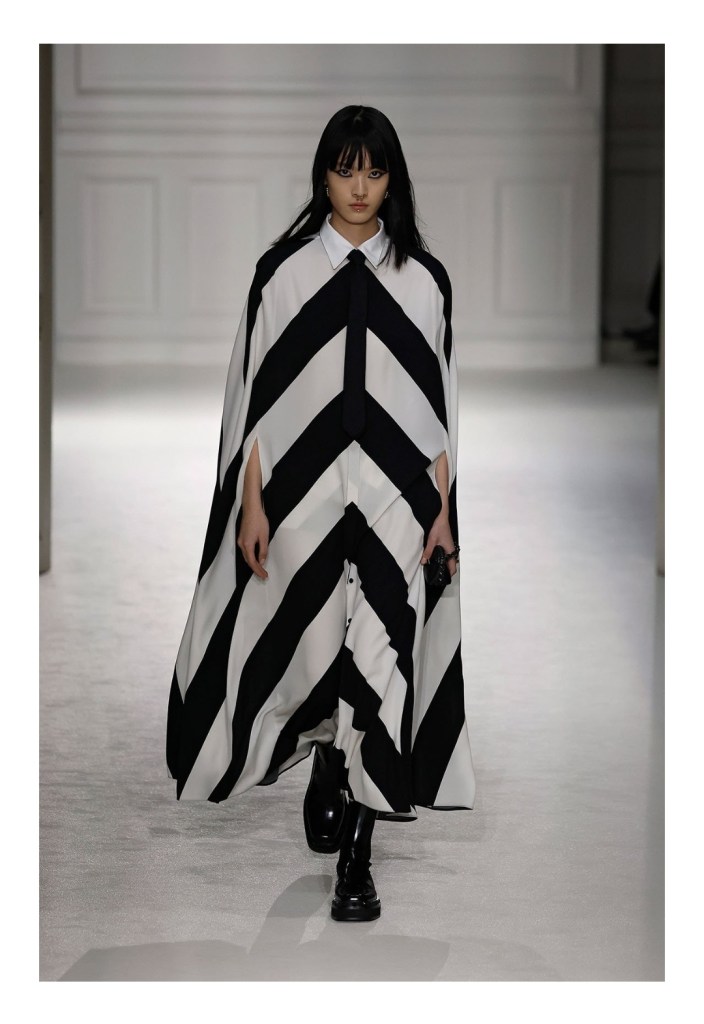
I bought some bold black and white stripe fabric from Rainbow Fabrics last year and was never quite sure what to do with it. It has the potential to be extra dramatic, but I also want to make clothes that are truly wearable and comfortable, so I didn’t want to go overboard on the drama. I’d been eyeing up the A/W23 collection from Valentino and it struck me – I AM Barbara is the perfect match for this fabric.
The project: Cutting out
As you’ll know if you’ve ever sewn with stripes, precision when cutting is SO IMPORTANT. These strips are so wide that any errors would scream “look at me!”, so I really took my time. There was also the factor of deciding on the direction of stripes. In the end, I went with:
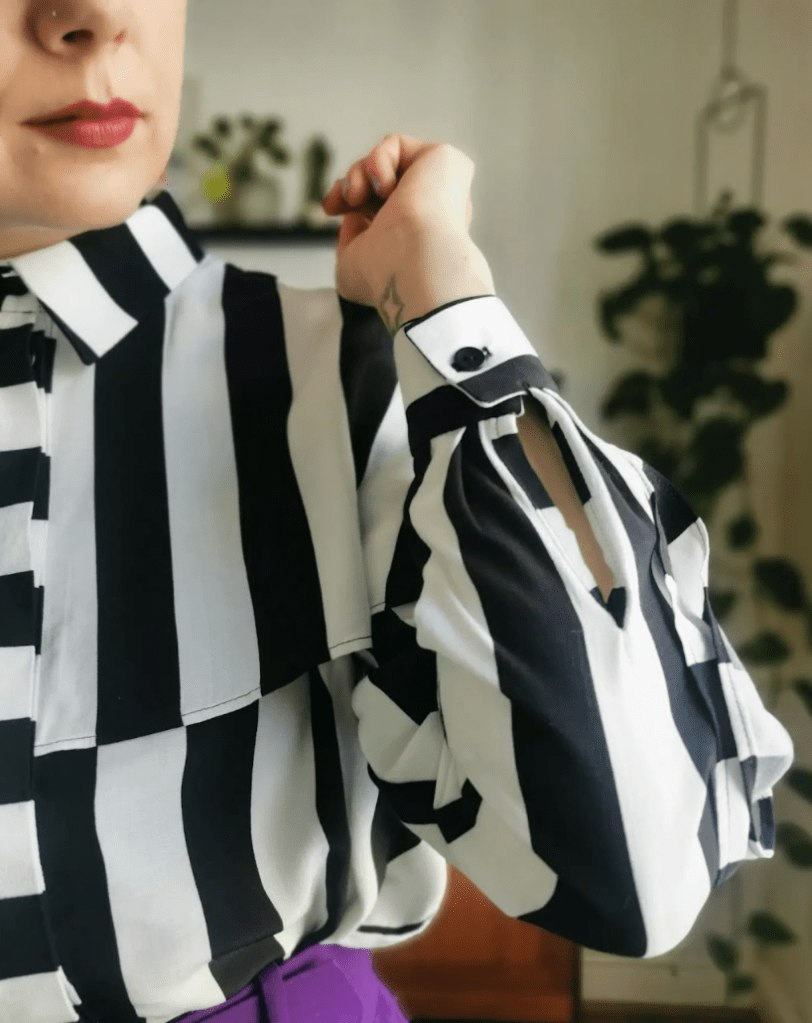
Vertical for the main shirt pieces, the flounce, sleeves and collar
Horizontal for the button placket, yoke, cuffs, cuff placket and button stand
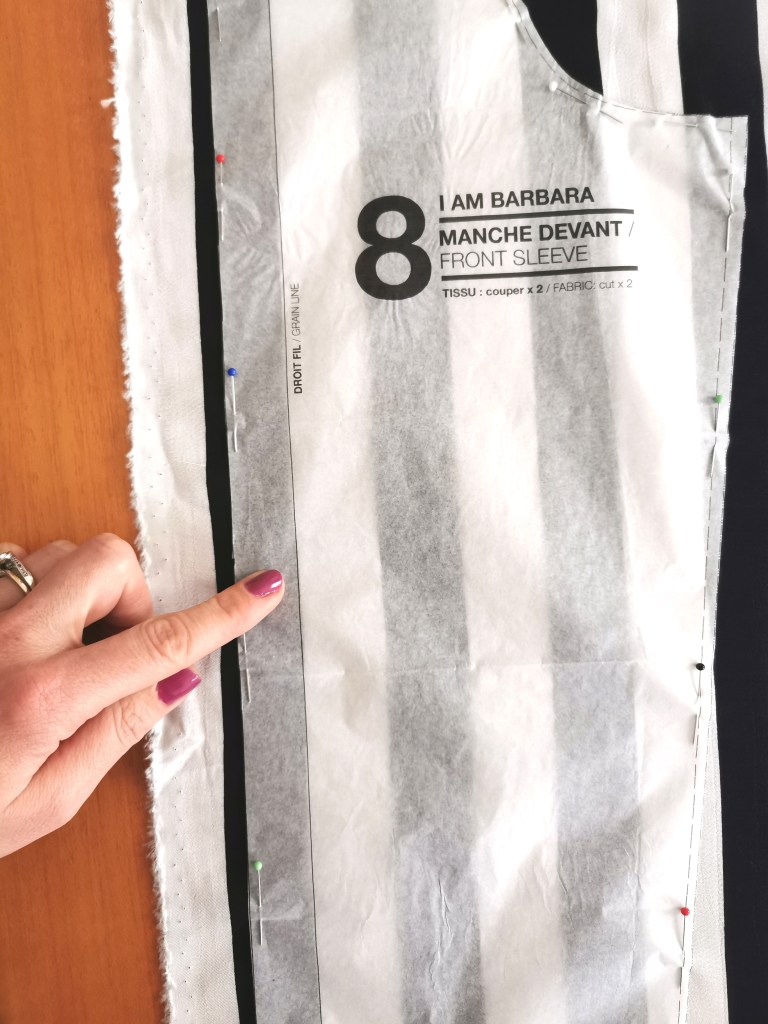
Enough variation for some added interest, but not ‘over designed’. To help with precision I cut everything on the single rather than cutting pairs. It meant cutting took a long time, but I really recommend cutting this way if you want a project to be super-accurate. Where possible, I used the grainline as a guide and made sure to line it up with one of the stripe edges:
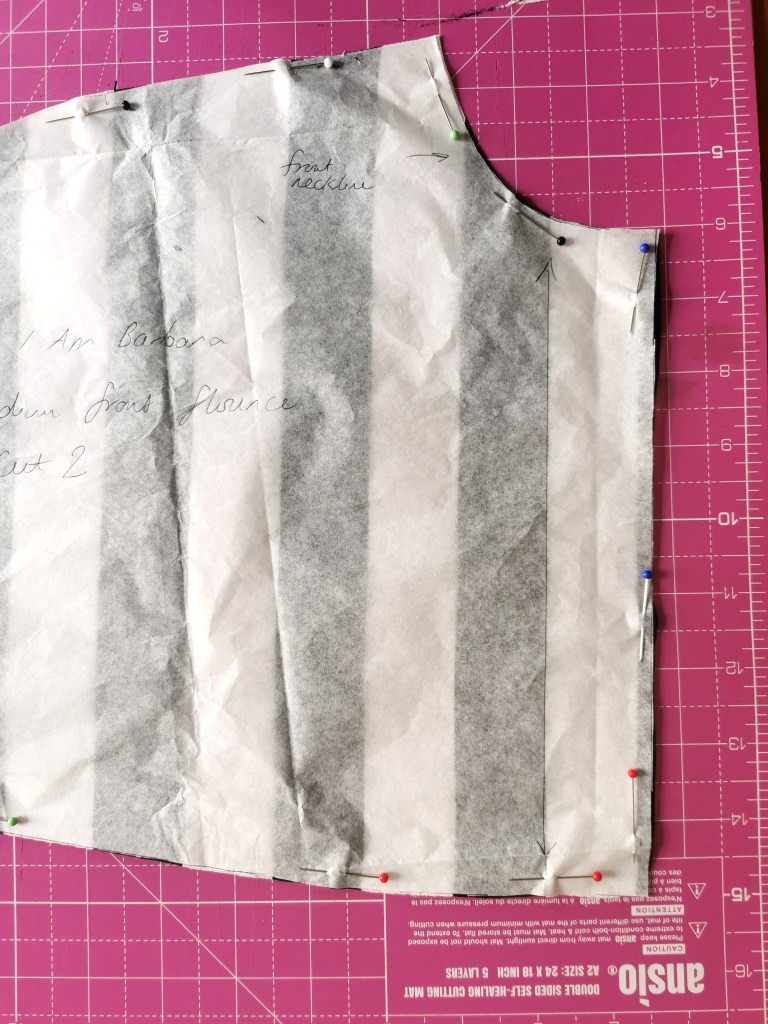
For the yoke, I cut it on the single again so the stripes were in exactly the same place. The white stripes are quite transparent, so I didn’t want to risk black stripes showing through. Turns out this step was completely unnecessary because the yoke is hidden under the flounce, but a good step to take nonetheless!
The project: Construction
This was a very much a standard shirt sewing project, and as always, I AM Patterns’ instructions are clear and concise. The only step that threw me was the sleeves…
The process for inserting the sleeves and flounces feels all kinds of wrong, but just go with it. The flounce is set into the sides of the sleeves, so each sleeve is in two sections: front and back, and the flounces are sandwiched between them. This means that you attach the sleeve front to the front bodice, and the sleeve back to the back bodice, rather than inserting a full sleeve head. You then lay the front (including sleeve front) down to attach the front flounce, repeat for the back, then sew the whole front and back sections together and it miraculously takes form. Proper weird. But it works.
I wanted to do French seams throughout but realised there would be a lot of seam allowances squished in a 5mm seam in some places, so it would end up too bulky. At the flounces there will be:
Sleeve front + flounce front (+ double turn at its hem) + flounce back (+ double turn at its hem) + sleeve back = 4 seams, 8 if you count the little sections where there’s the double turned hem of the flounces.
I decided this would turn out too bulky, or risk popping after a couple of washes, so I went with standard seams that I finished with a zigzag. Not the most attractive, but it’s the lesser of two evils. If you have an overlocker, you can bypass this concern, but if you’re considering making this shirt and you don’t have an overlocker, it’s worth bearing in mind the insides might not be super pretty. However, I don’t mind a zigzag seam! Vive le zigzag!
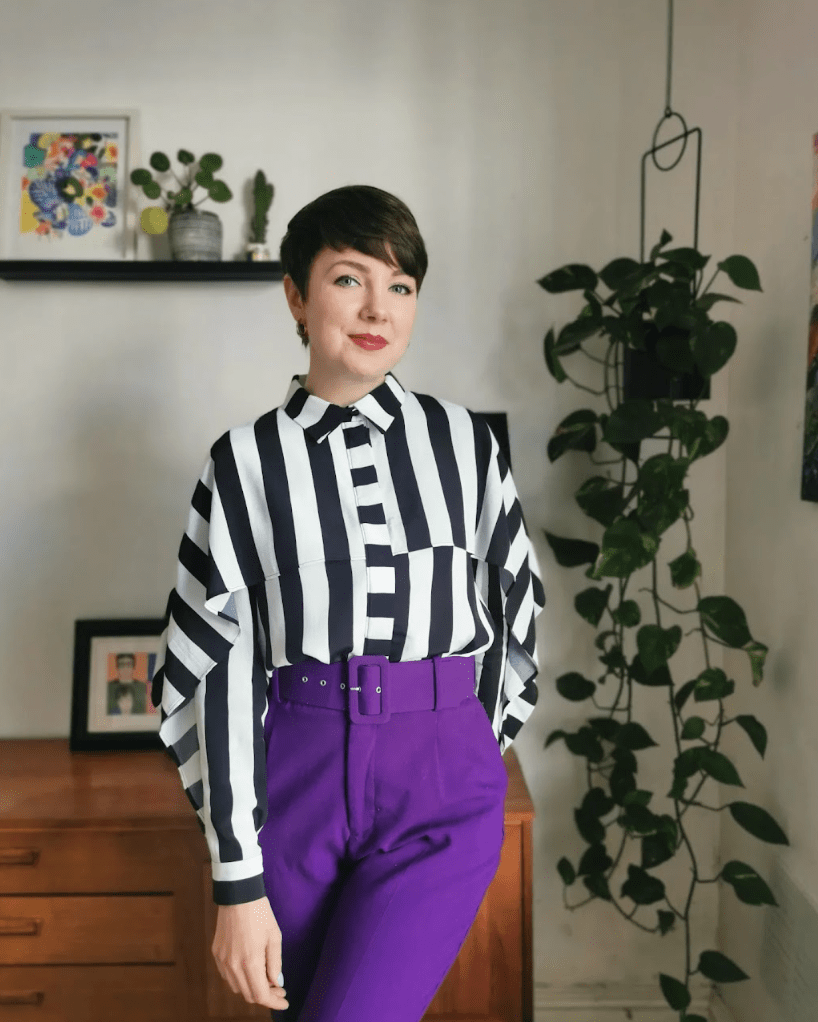
The result
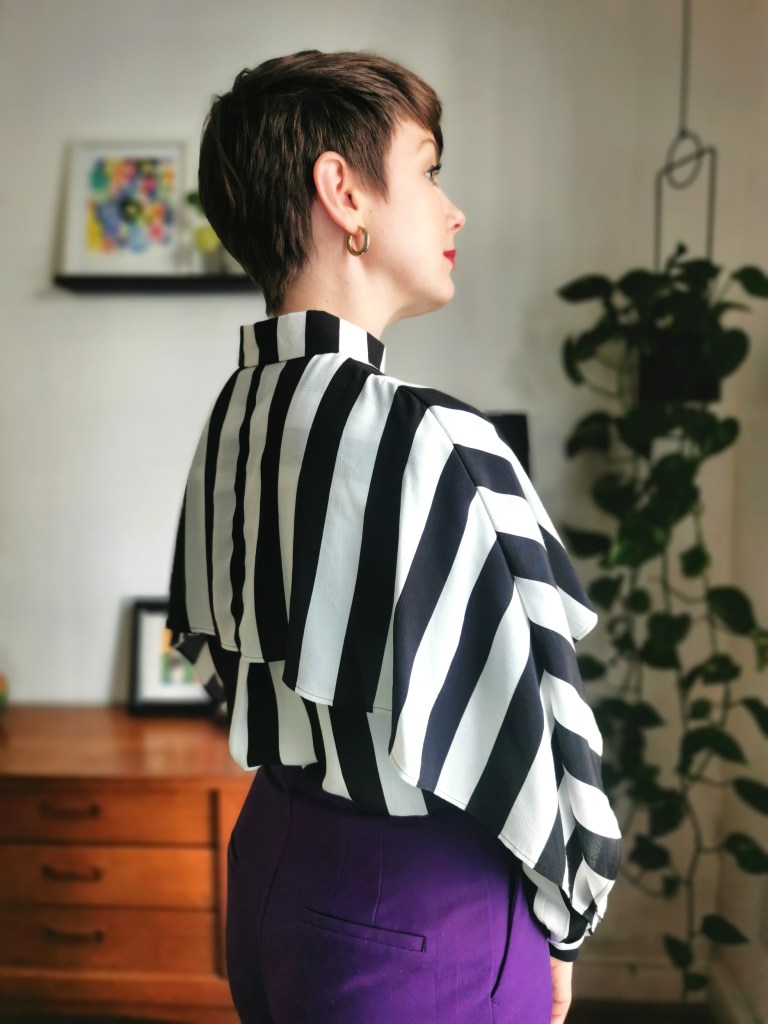
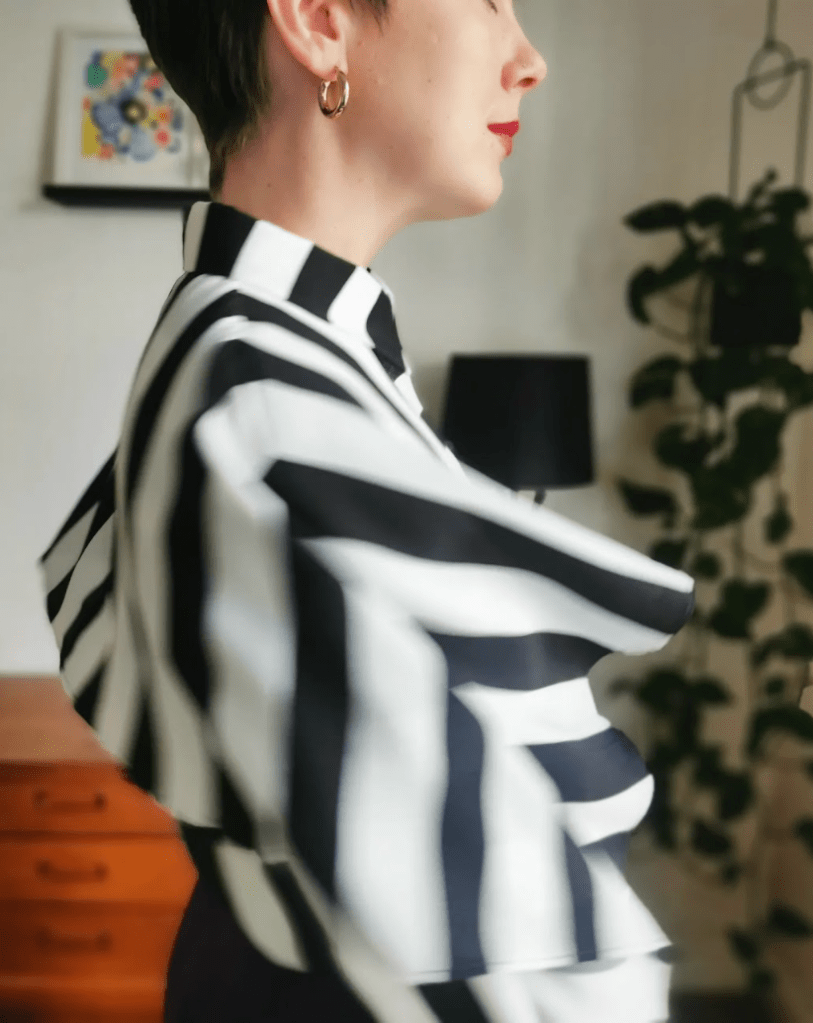
This is such a fun shirt to wear! It’s a bit silly, a bit dramatic, but also totally wearable in my everyday wardrobe. The fabric and pattern worked perfectly together, and the sizing came up exactly as expected. A relaxed yet tailored fit. The shirt feels like a mashup of 80s Dynasty-style power dressing with an added bit of Beetlejuice. And wings! The flounce is such a brilliant addition to a classic shirt. This pattern was a collaboration between I AM Patterns and Barbara of @bee_made and I doff my hat to them. A truly brilliant design!


This pattern is fantastic – thanks for the introduction! The stripes do it proud 🙂
LikeLike