The flat front skirt (FFS) tutorial went down a storm (thanks, everyone!), but if you’ve been following my sewing journey for a while, you’ll know I love a button. Shirts, dresses, skirts…add some buttons and you have my heart. So how to level up the FFS? Making a button-up version of course! This has all the comfort of the elastic at the back, but with a flat front waistband so it’s super flattering. The gathered skirt gives this added oomph, you can add some gorgeous buttons, and this will work with more structured cottons and drapey viscose, so you can make it to suit your style. Let’s sew a button up skirt (BUS!).

The lengthiest part of this is the measuring and drafting your pattern pieces. They’re all rectangles and the maths is straightforward, but take your time with this part and enjoy the process 😊
Step 1: Measuring your pattern pieces
Front waistband pieces
Take your waist measurement in centimetres
Divide this by two (because we’re making just the front waistband in this step)
Divide by two again (because we’re making two front pieces)
Add 3cm for the overlap (where the skirt fronts will cross over to button up)
Add 3cm (1.5cm seam allowance at each end)
So for me, this worked out to:
Waist measurement = 68cm
Divide by 2 = 34cm
Divide by 2 = 17cm
Add 3cm overlap = 20cm
Add 3cm seam allowance = 23cm
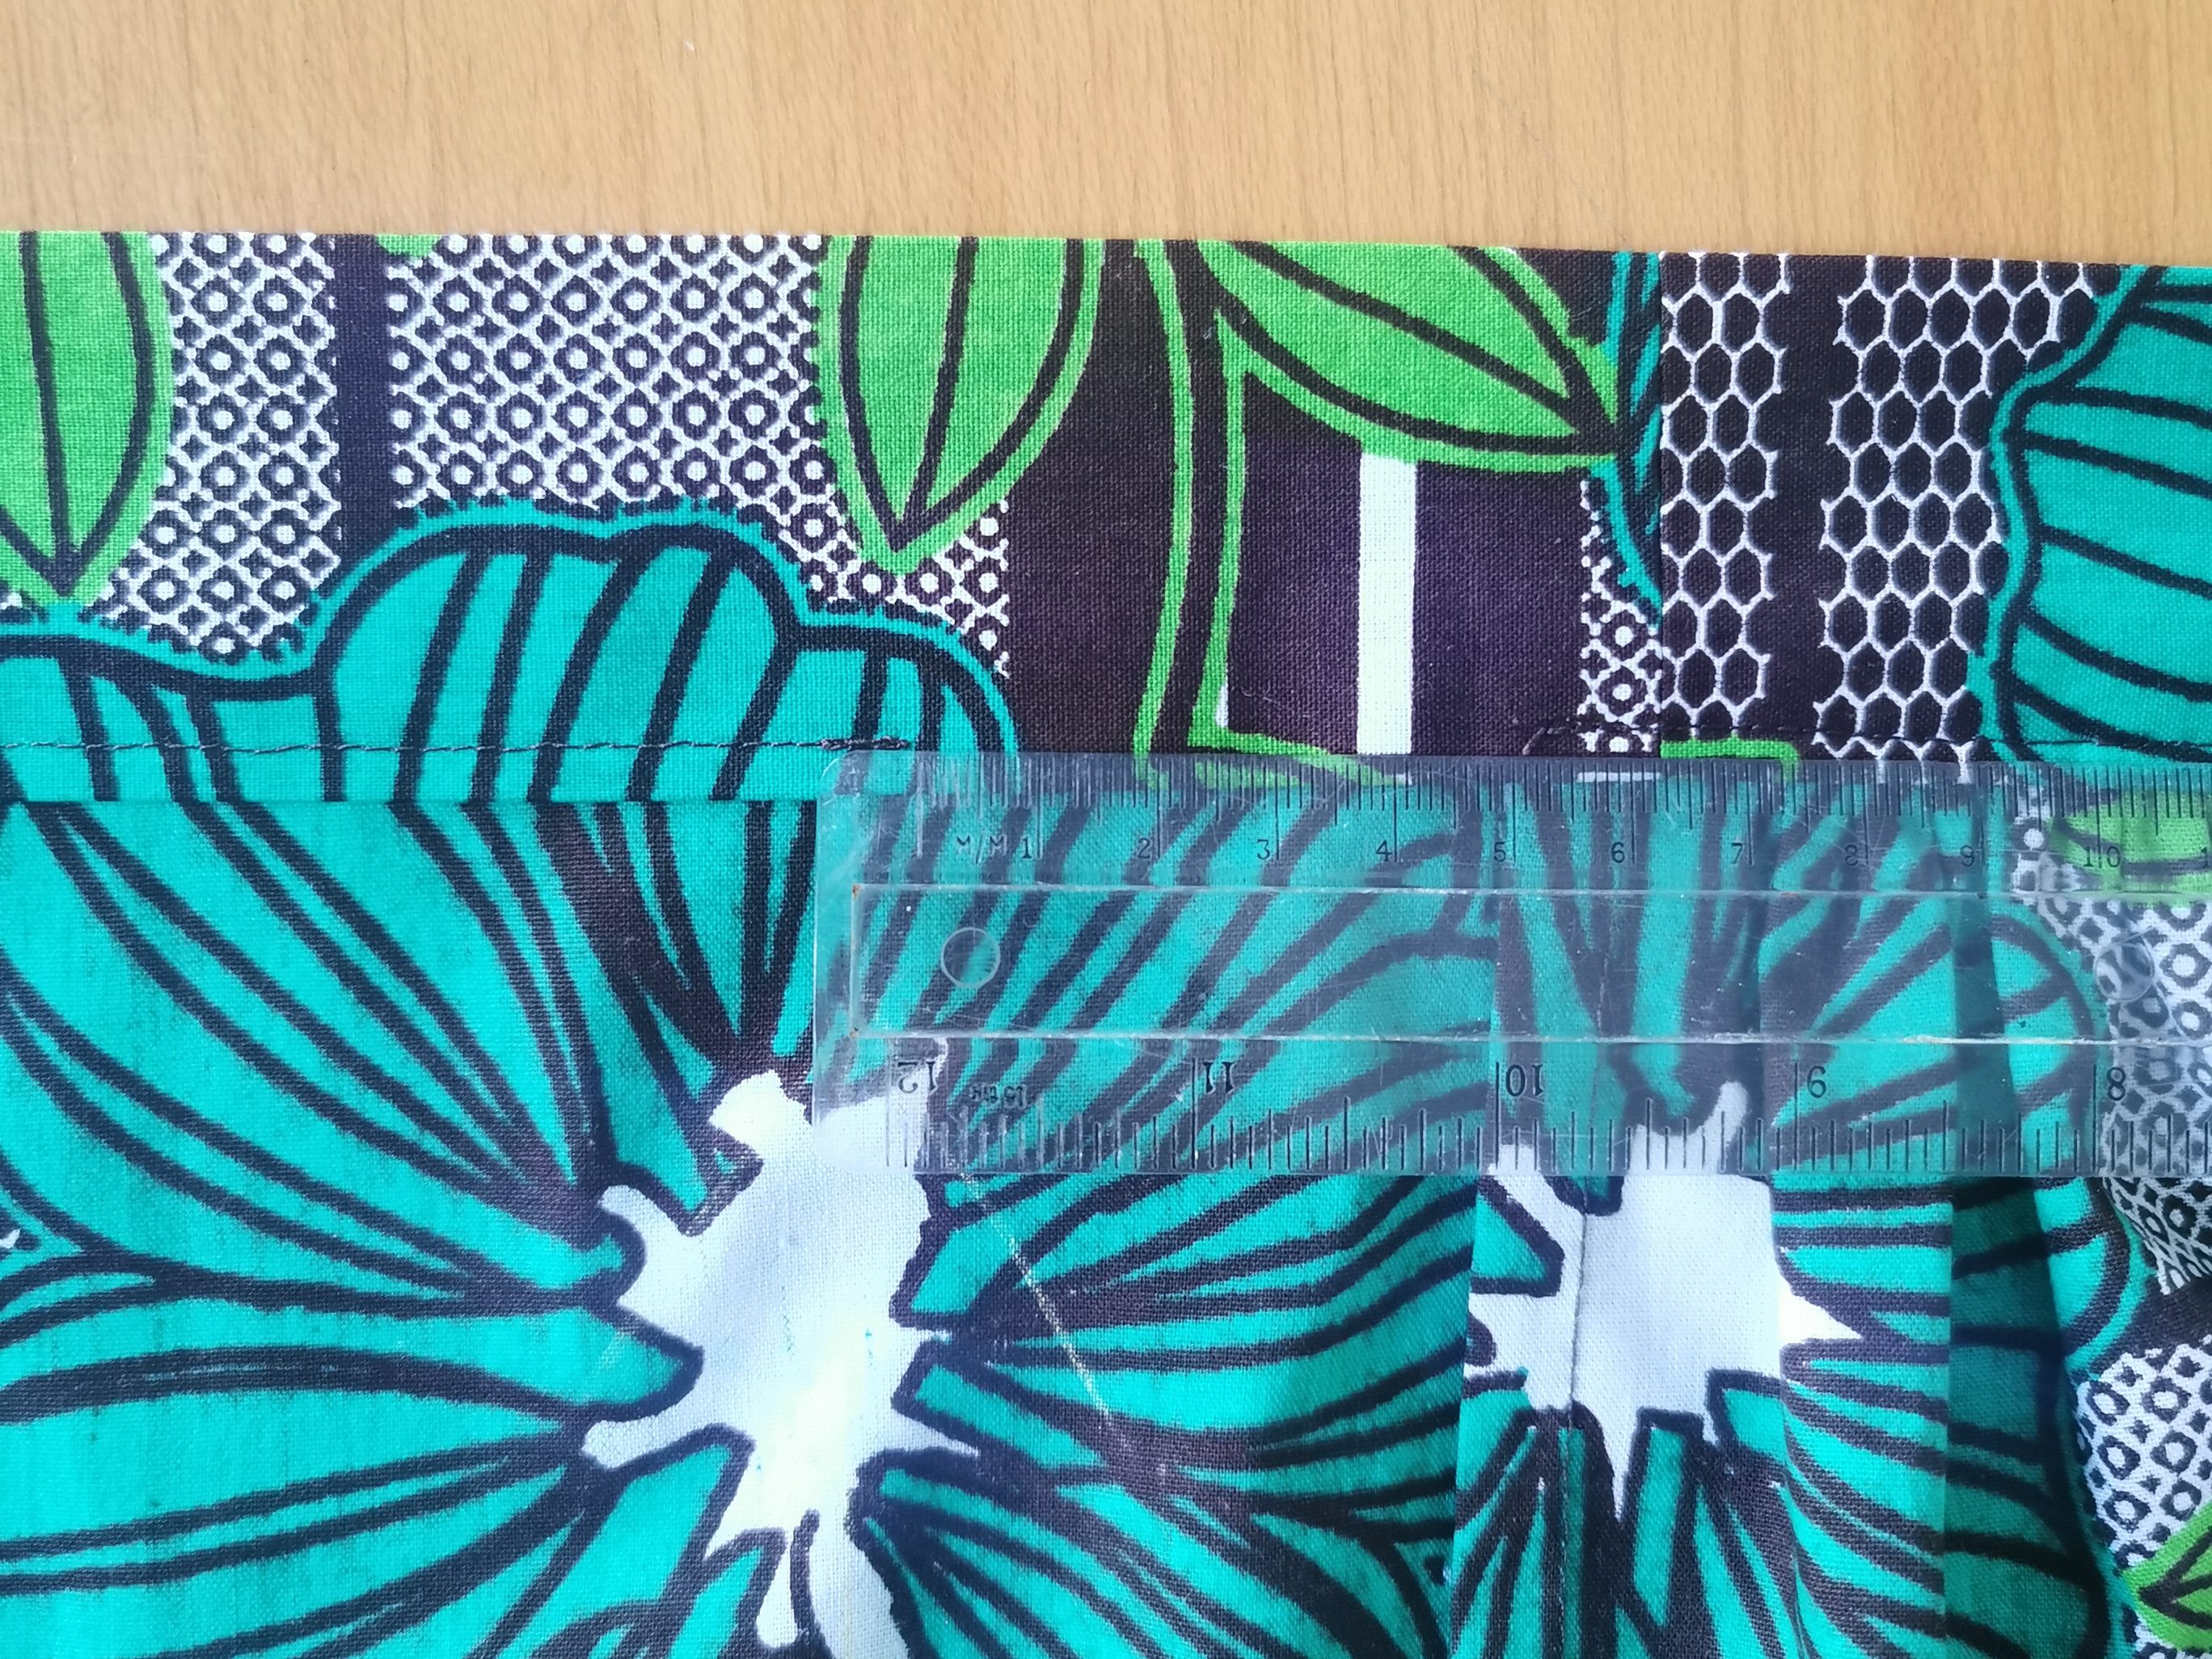
You’ll now have the width of your front waistband pieces. For the height, measure 12cm, this will create a 4.5cm waistband with a 1.5cm seam allowance. Cut two front waistband pieces. You’ll have two small rectangles. Also cut one in interfacing.
Back waistband piece
The back waistband will be elasticated, so use your full waist measurement and add around 10cm for added volume. I added 12cm, so this was 68cm + 12cm = 80cm. Use the same height as the front waistband i.e. 12cm. You’ll have a long rectangle.
Cut one back waistband piece.
Skirt pieces
Front skirt pieces
Halve the measurement you calculated for your back waistband. For me the back waistband was 80cm, so I have 40cm. For the length of your skirt, measure down your legs to see how long you’d like your skirt to be. If in doubt, add some length on as you can always take it up at the end. I went for 84cm which created a good midi length (to help you gauge that, I’m 5’ 6” tall).
Cut two. To help avoid confusion later on, use tailors chalk to mark a large upwards arrow on the back of the skirt pieces so you know which way up they go!
Back skirt piece
Cut this the same width as your back waistband. For me this was 80cm. Make the length the same as your front skirt pieces. Cut one.
Facings
Cut two long rectangles 7cm wide, and the length is the same as your skirt pieces.
We’re all cut out, time to sew!
Step 2: Stitching it all together
Waistband:
Cut the interfacing in half lengthways. Iron onto the wrong side of each front waistband piece.

Join the side seams of the waistband right sides together. You need the long back waistband piece in the middle, with a short front waistband piece at each end. Press seams open.
Skirt:
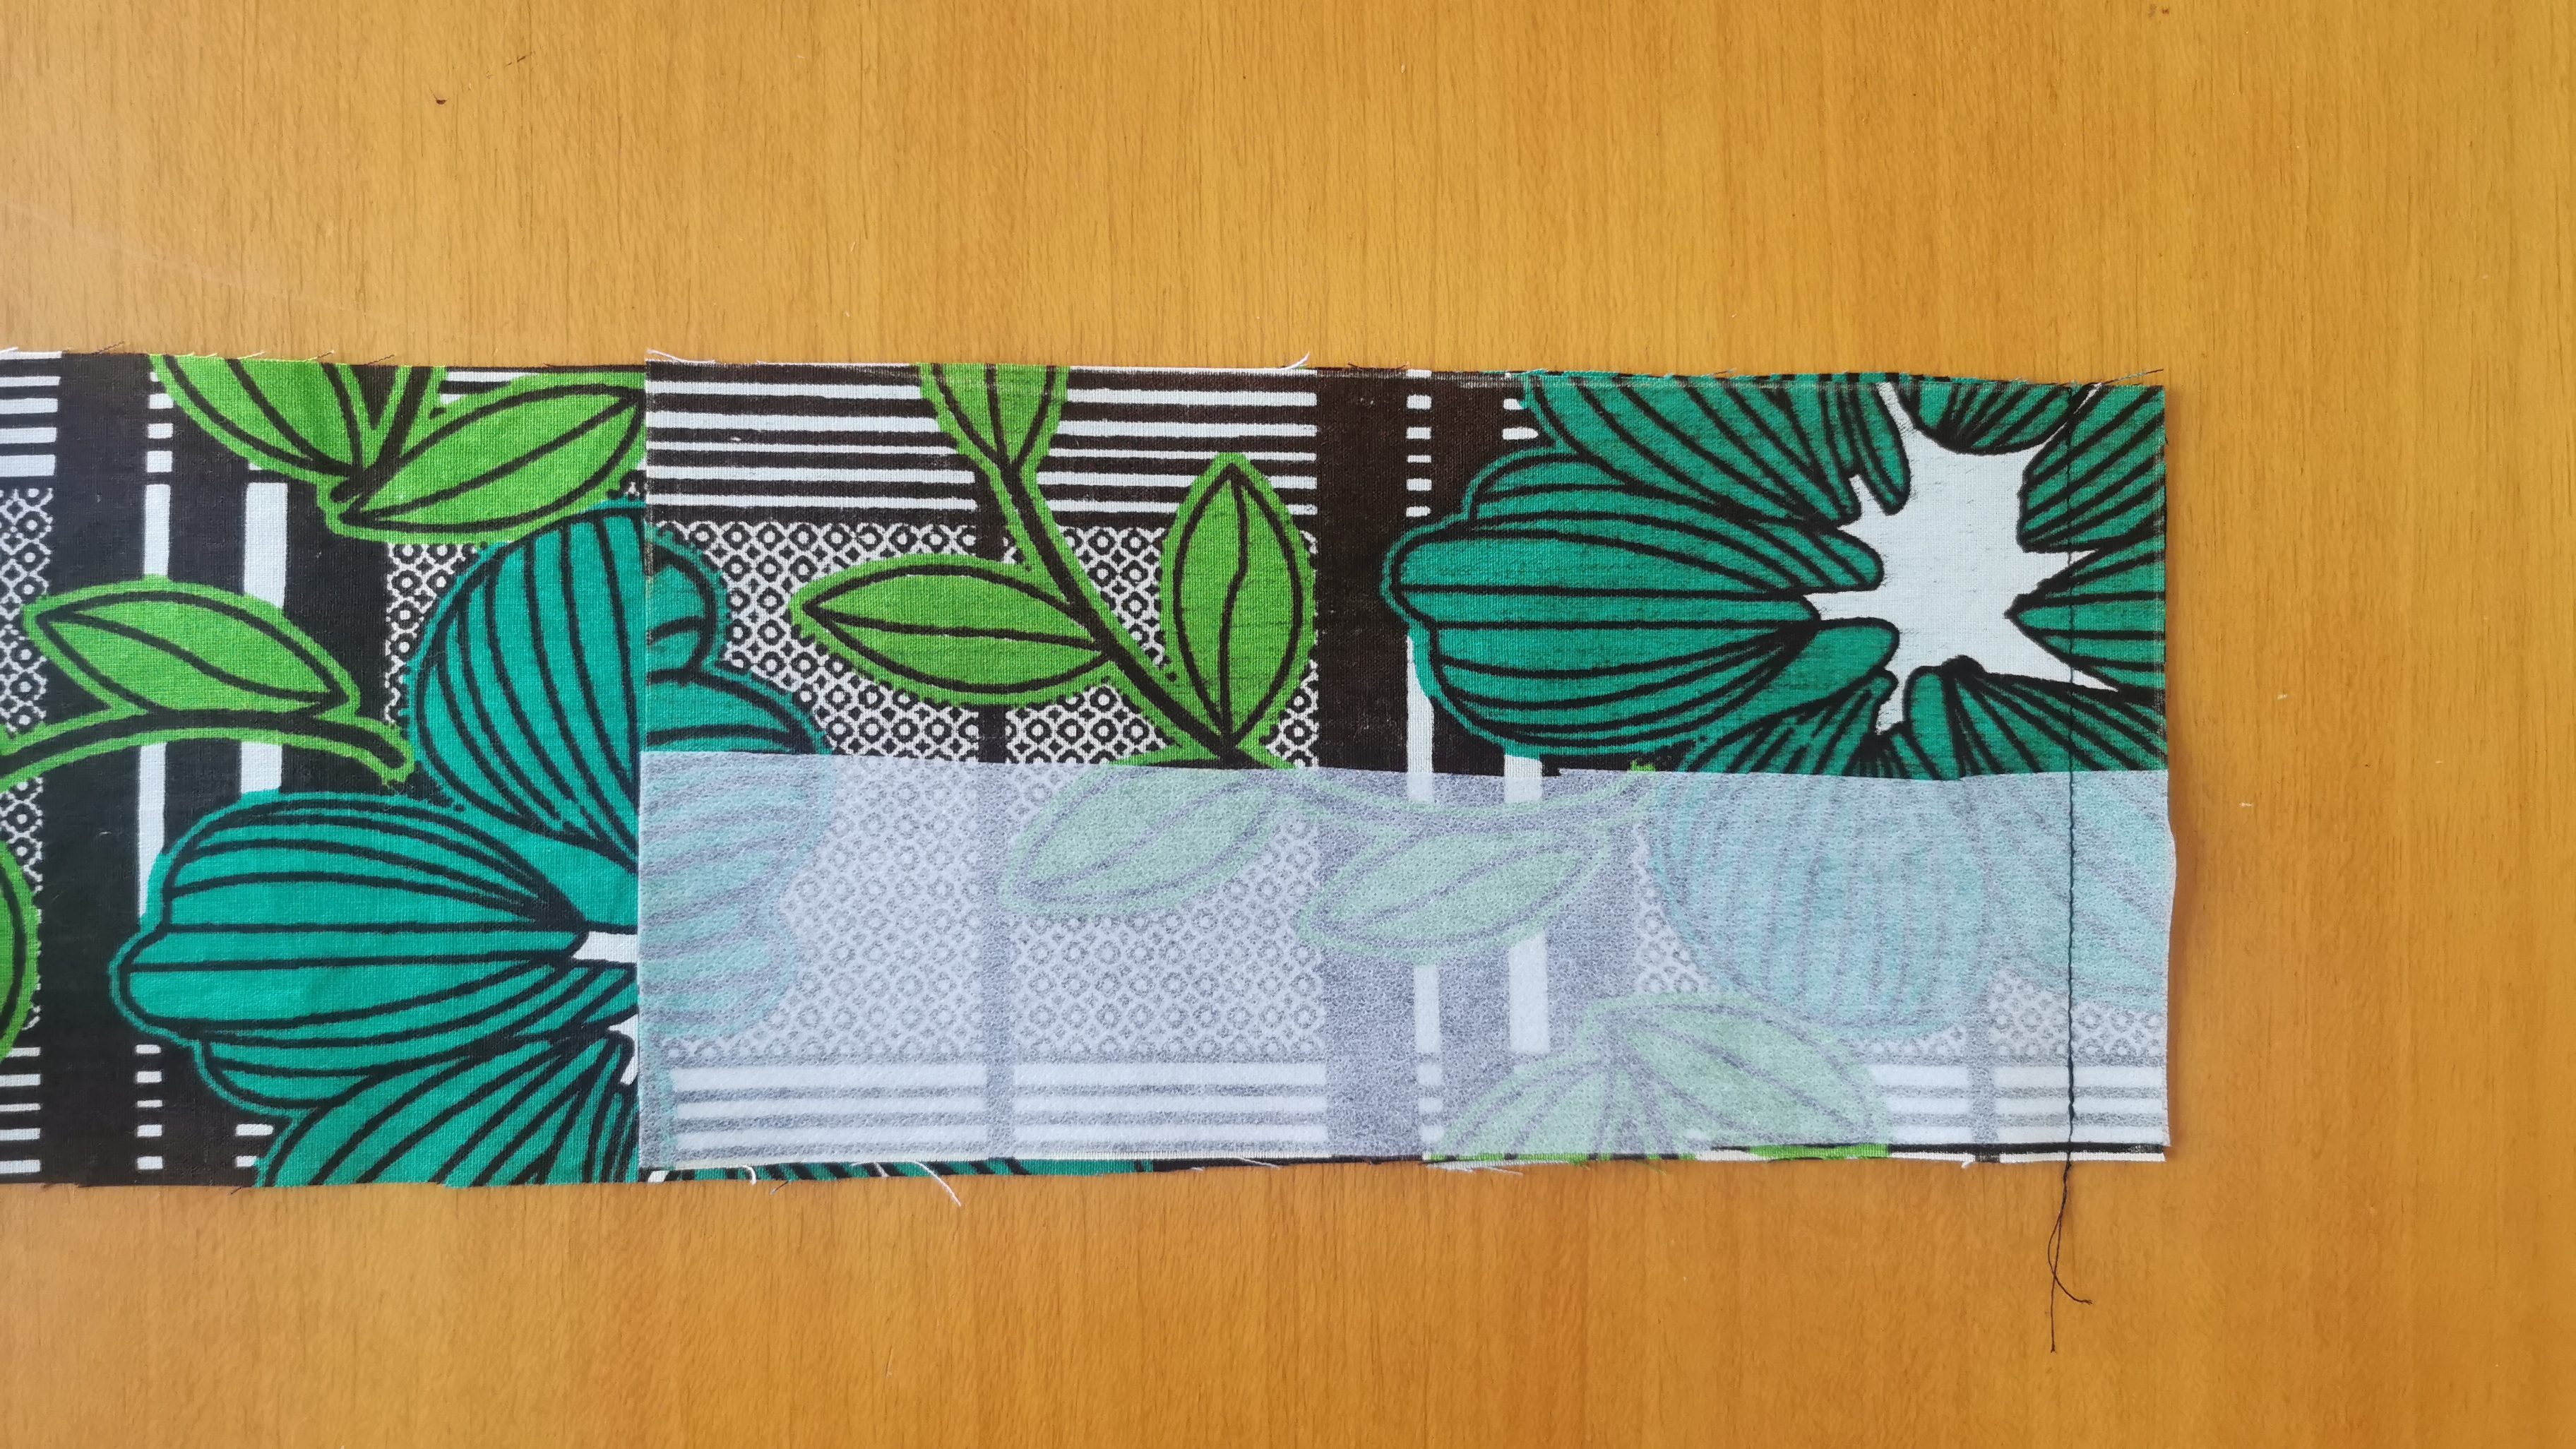
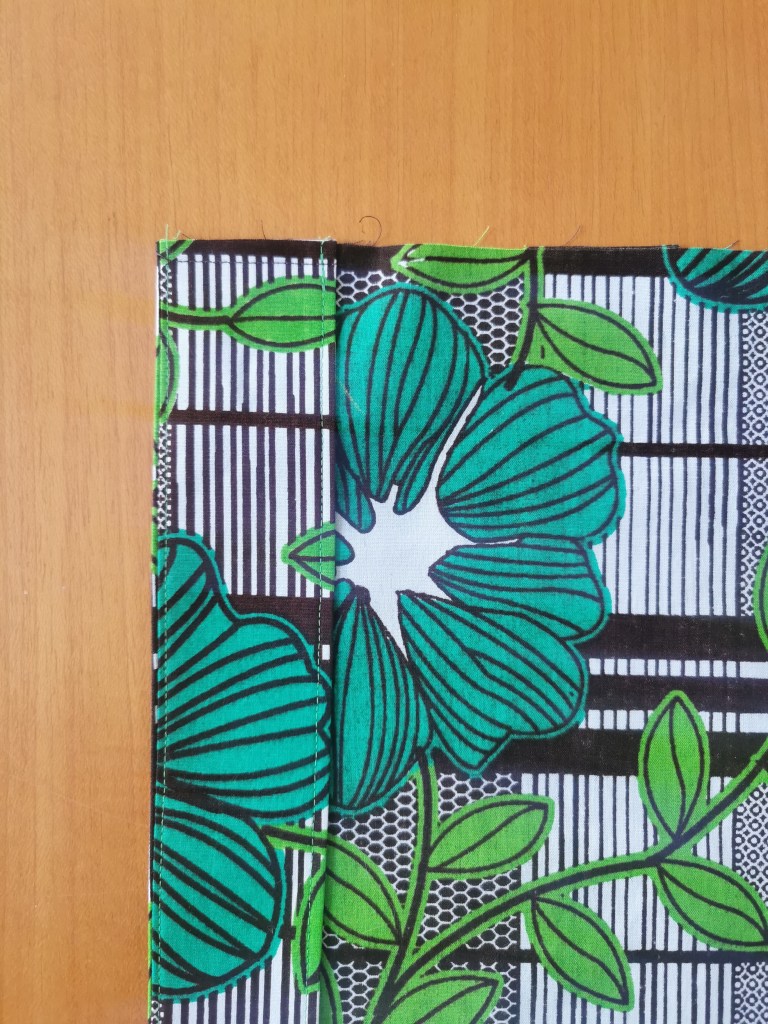
Interface the skirt facings (the long skinny bits). Finish the raw edge that won’t be attached to the skirt. I like to press it under by a few millimeters and edge stitch it in place.
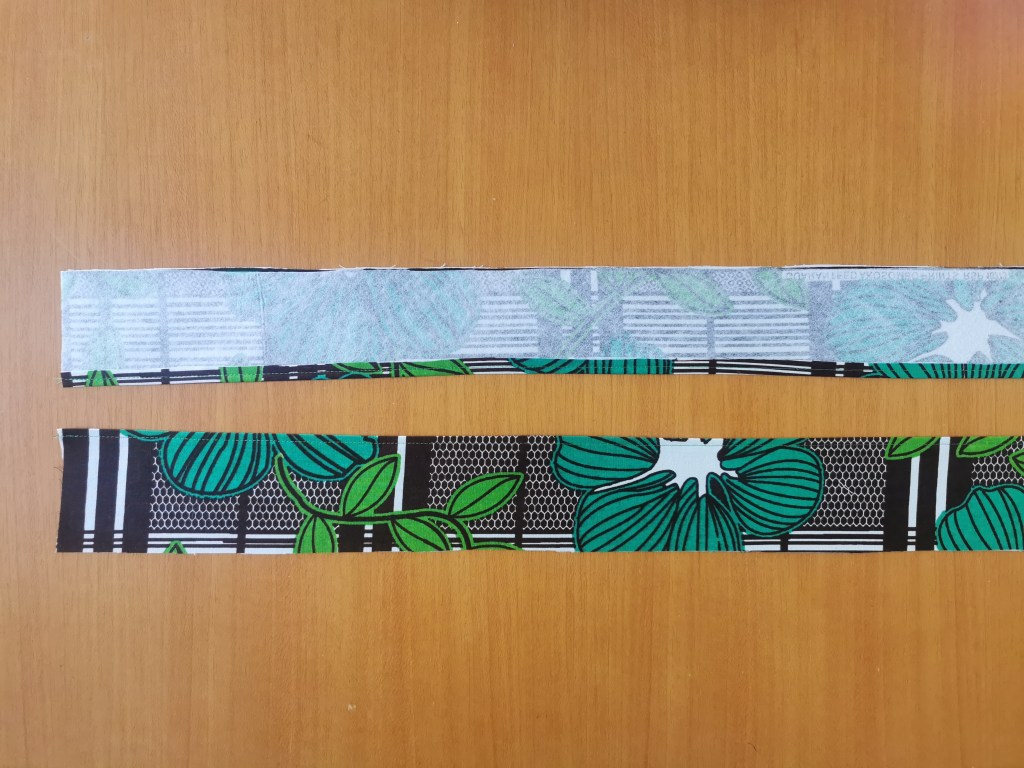
Sew the facings to the skirt fronts with a 1cm seam allowance, right sides together. Grade the seam allowance, then understitch.
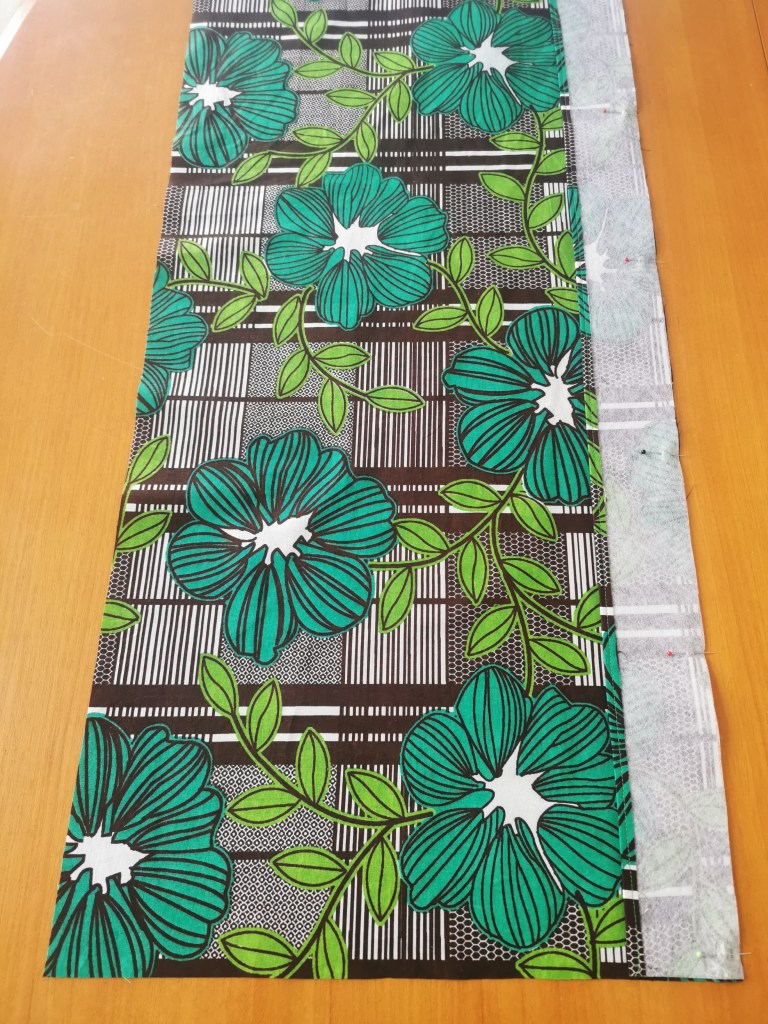
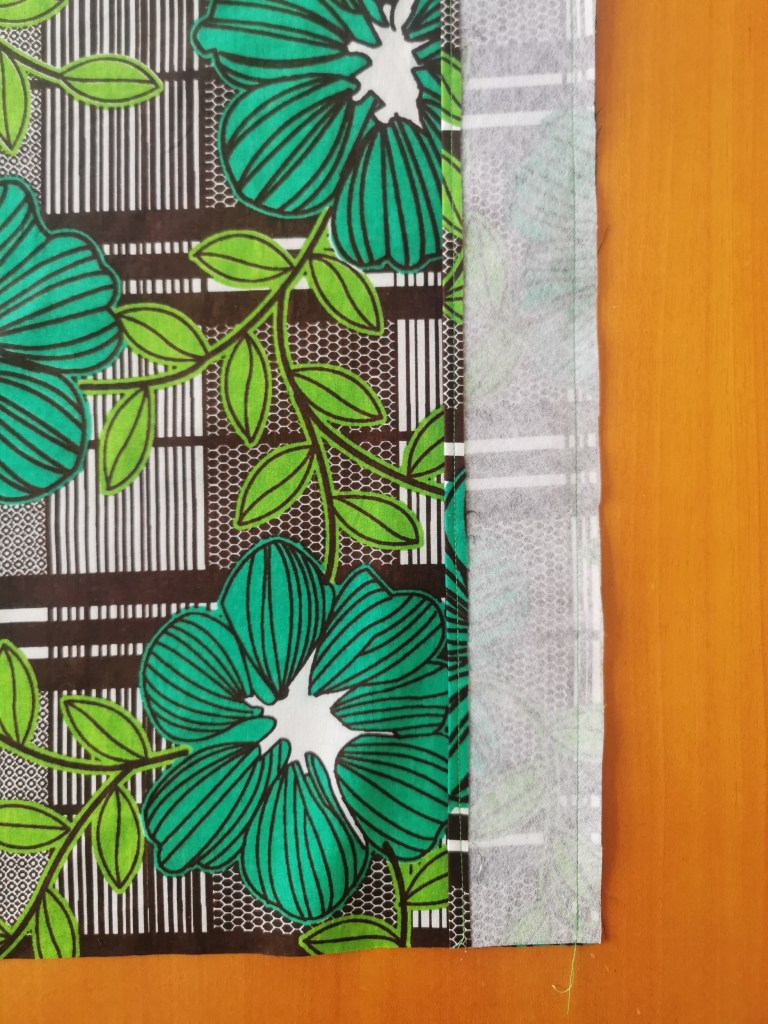
Press back on itself so the wrong side of the facing is touching the wrong side of the skirt front. Repeat for the other skirt front, ensuring to attach the facing to the correct side.
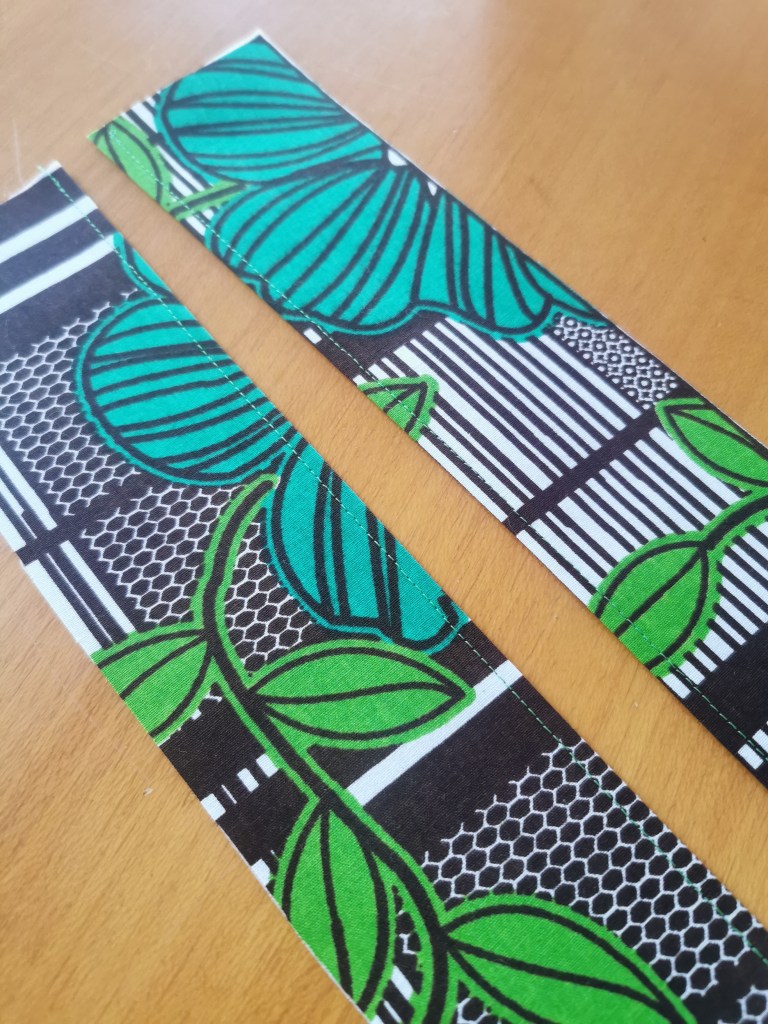
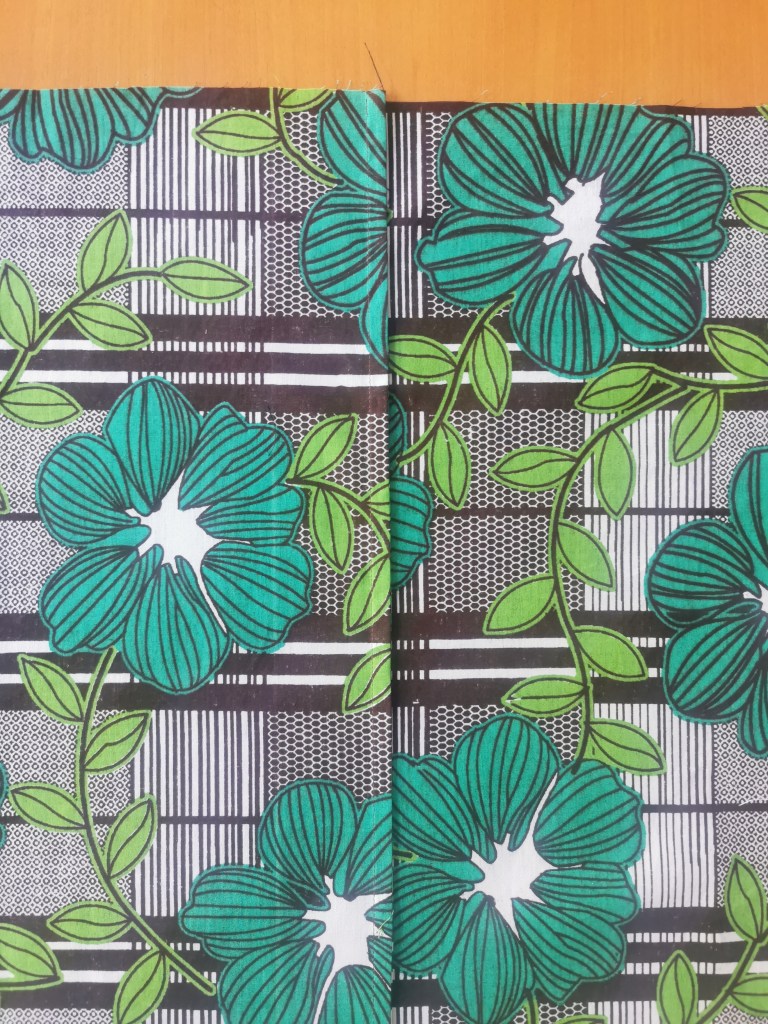
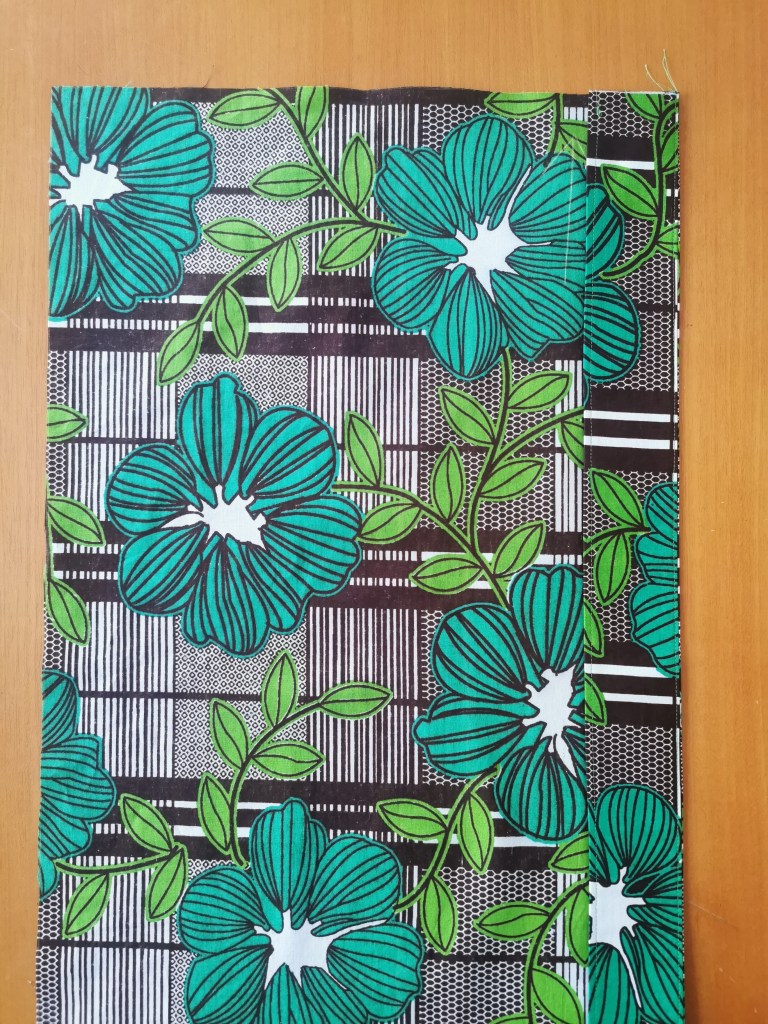
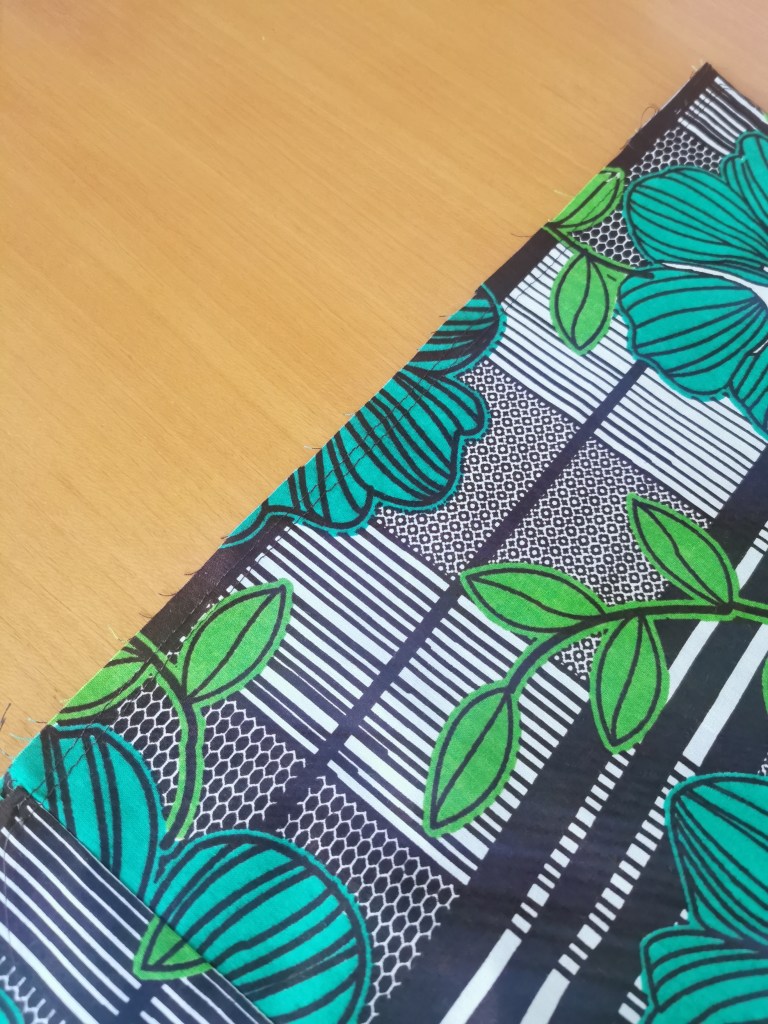
Join skirt back to skirt fronts. I did French seams, but you can use pinking shears or an overlocker.
Baste the facings in place to the skirt fronts, wrong sides together – this is just to hold them in place before gathering.
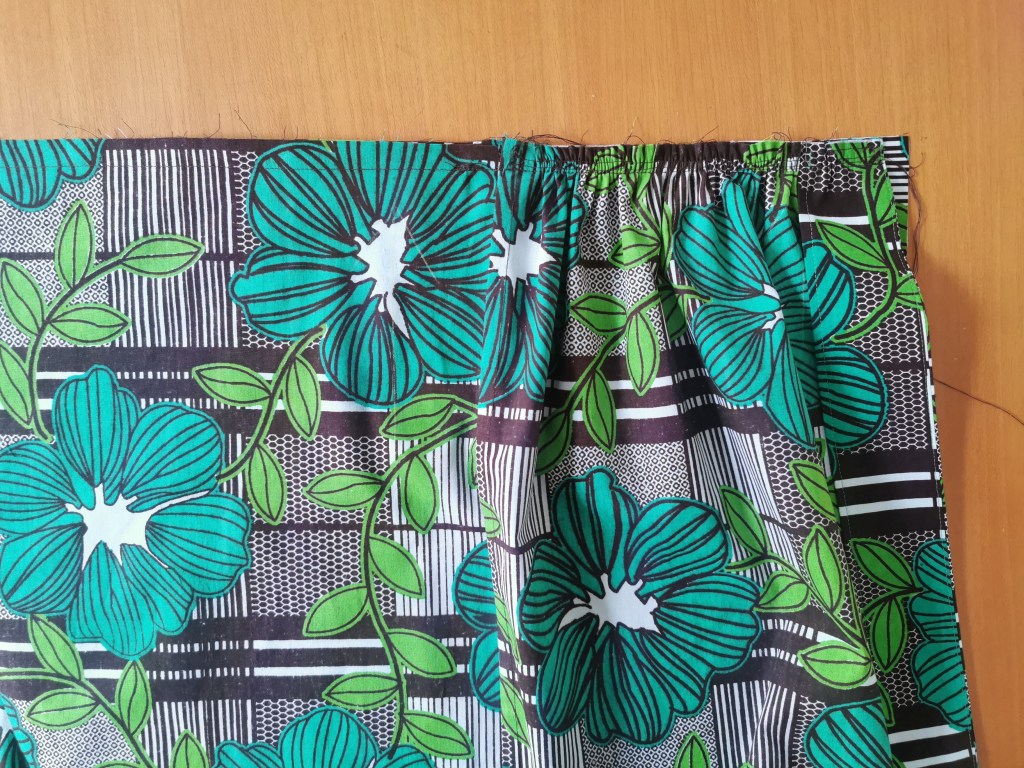
Run two lines of gathering stitches across both skirt fronts within the 1.5cm seam allowance. You don’t need to add gathering stitches to the back.
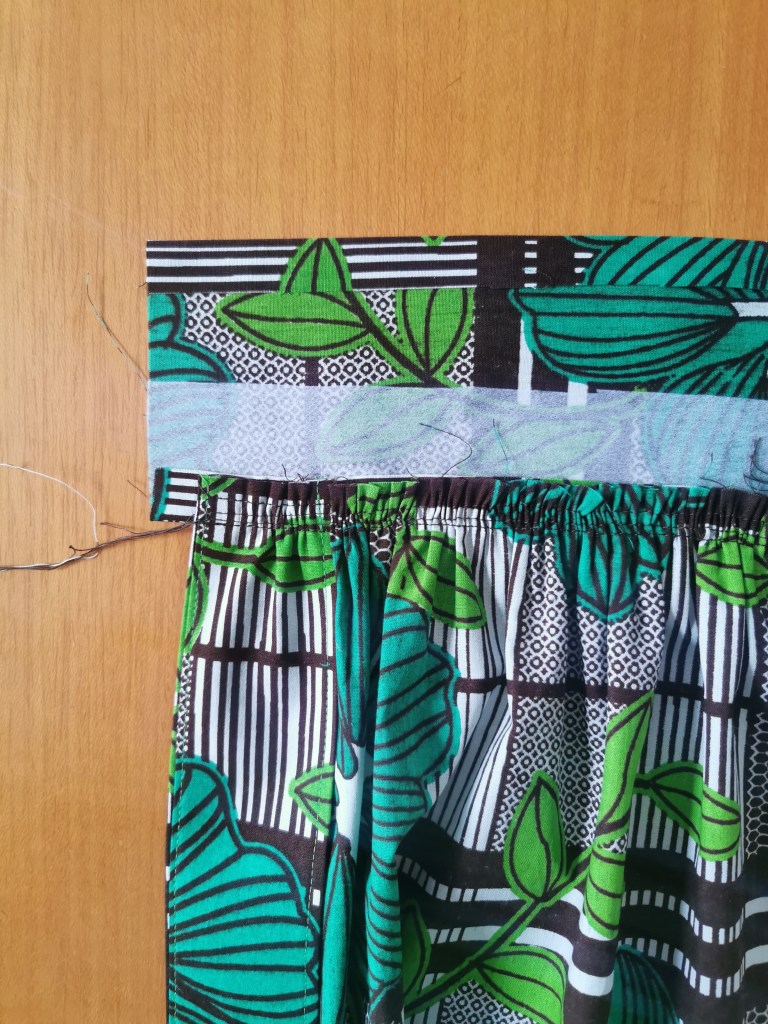
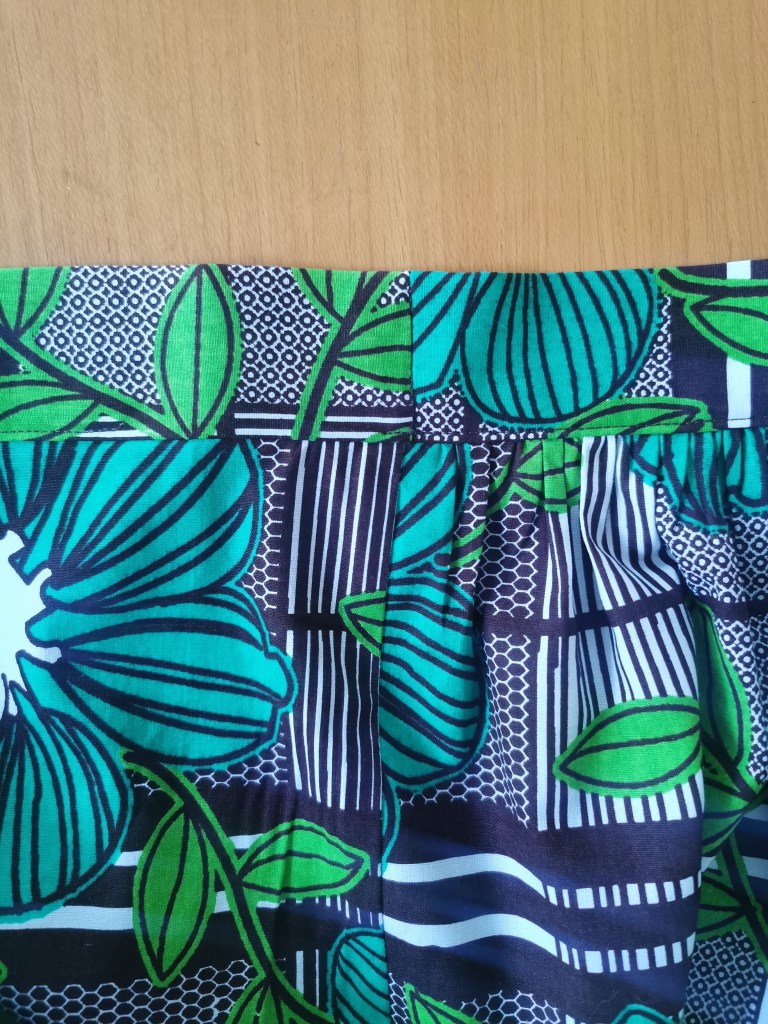
Right sides together, pin the waistband to the skirt. Begin with the skirt back, it’ll fit the back waistband section exactly. The front skirt pieces will be wider than the front waistband sections – don’t worry! Position so that the interfaced edge is running along the top edge of the skirt (rather than downwards towards the skirt).
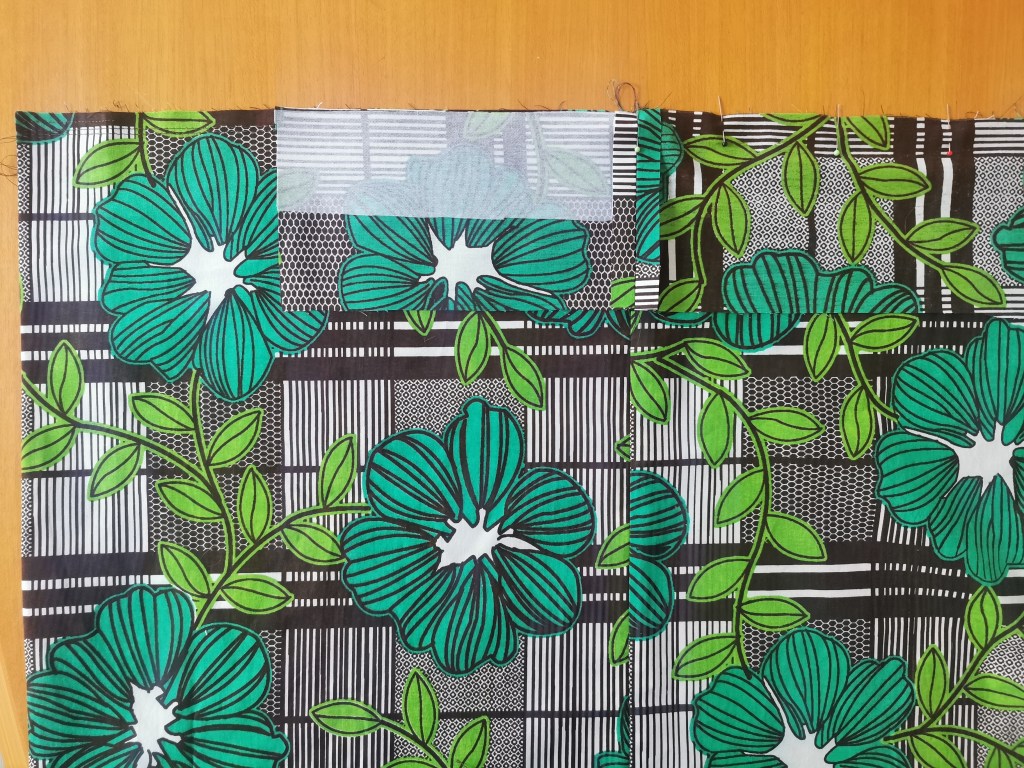
Once the back waistband is pinned in place, gather the skirt front to match the front waistband pieces and pin in place. Leave 1.5cm of waistband hanging over. Stitch all the way along to attach the waistband to the skirt.
Press the unstitched edge of the waistband under by 1.5cm.
Fold the waistband back on itself, right sides together, pin and stitch down the short open end at 1.5cm. This will make the edge of the waistband line up with the edge of the skirt front.
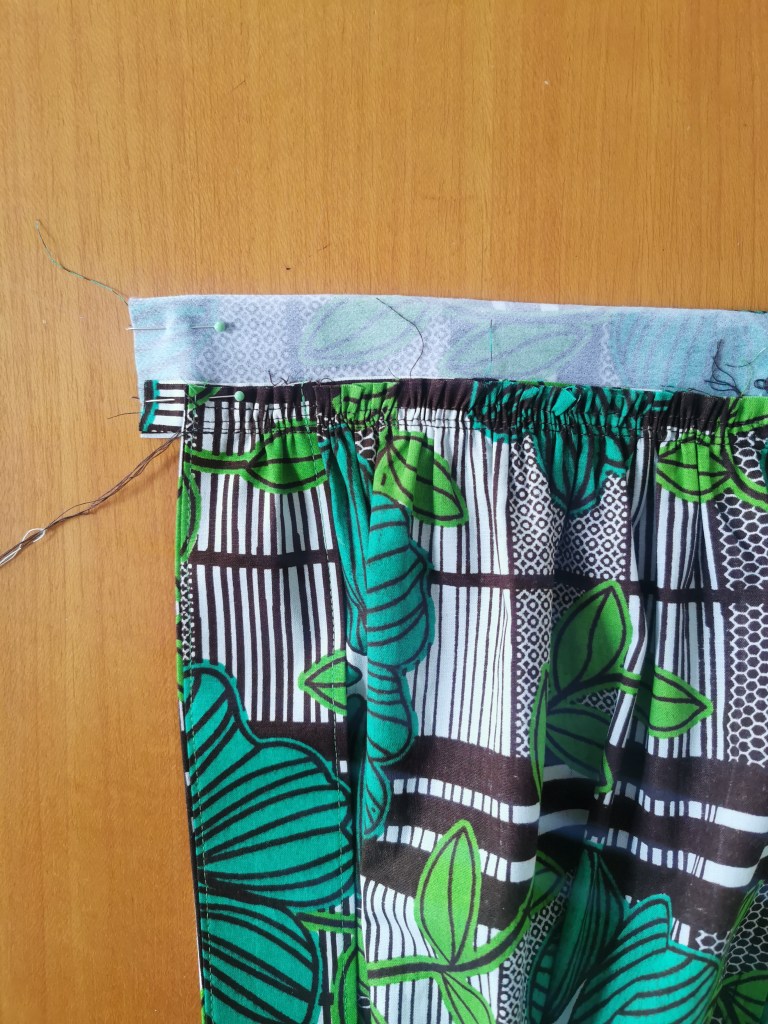
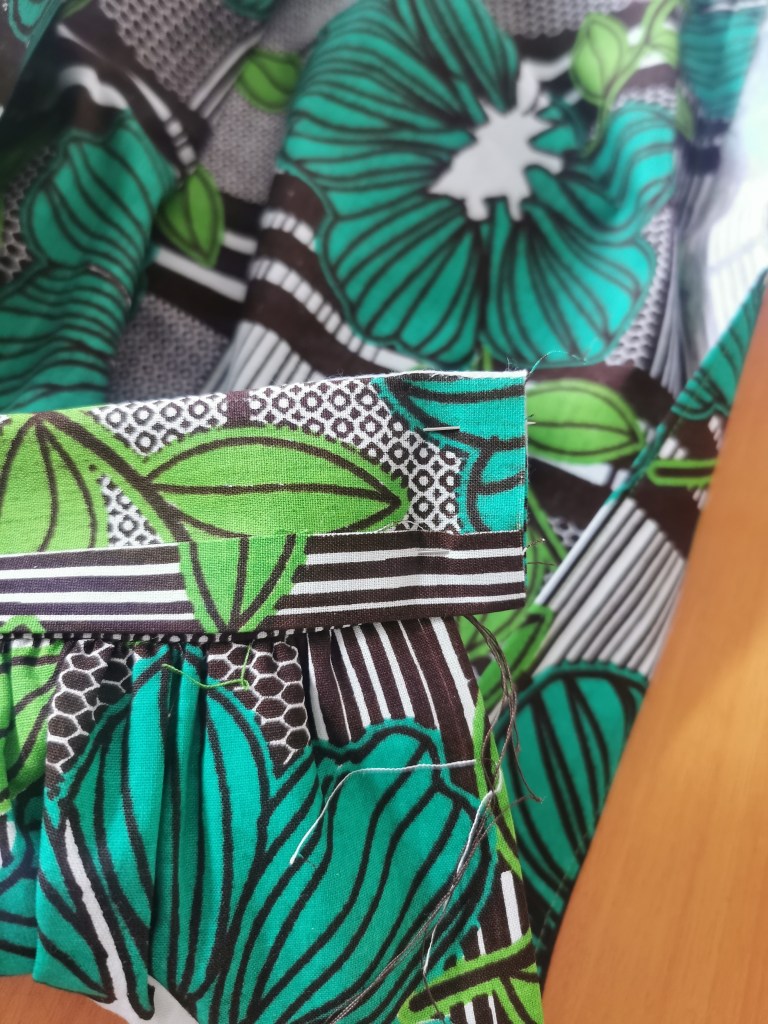
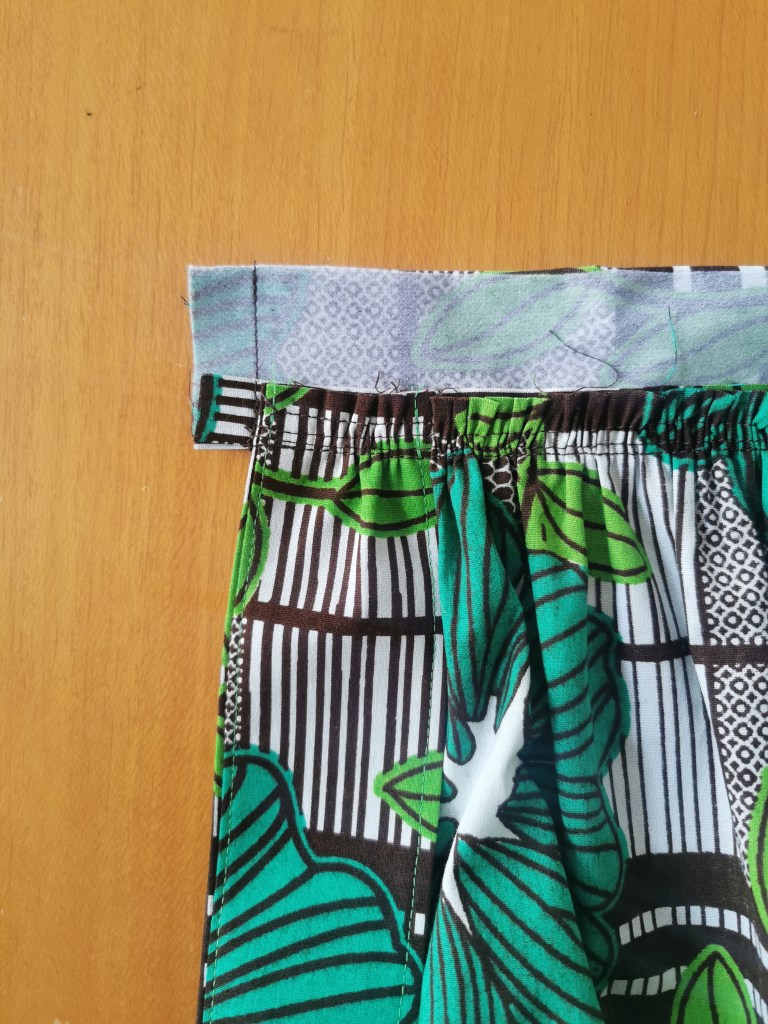
Trim the corners and turn the waistband through so the wrong sides are together. Press.
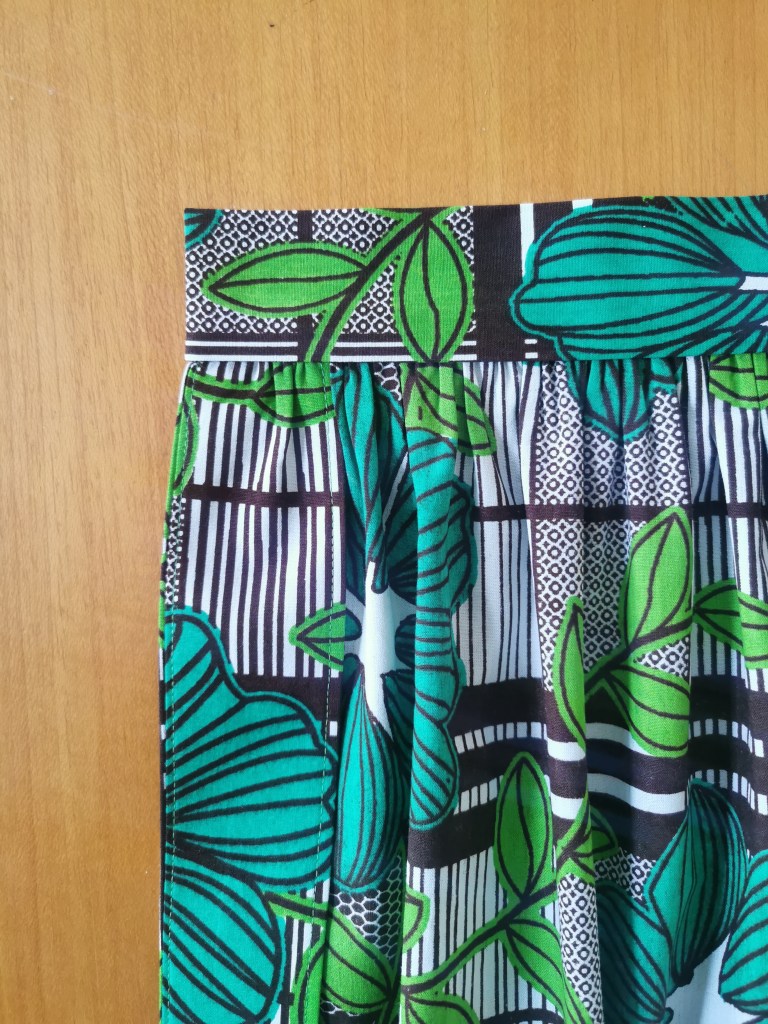
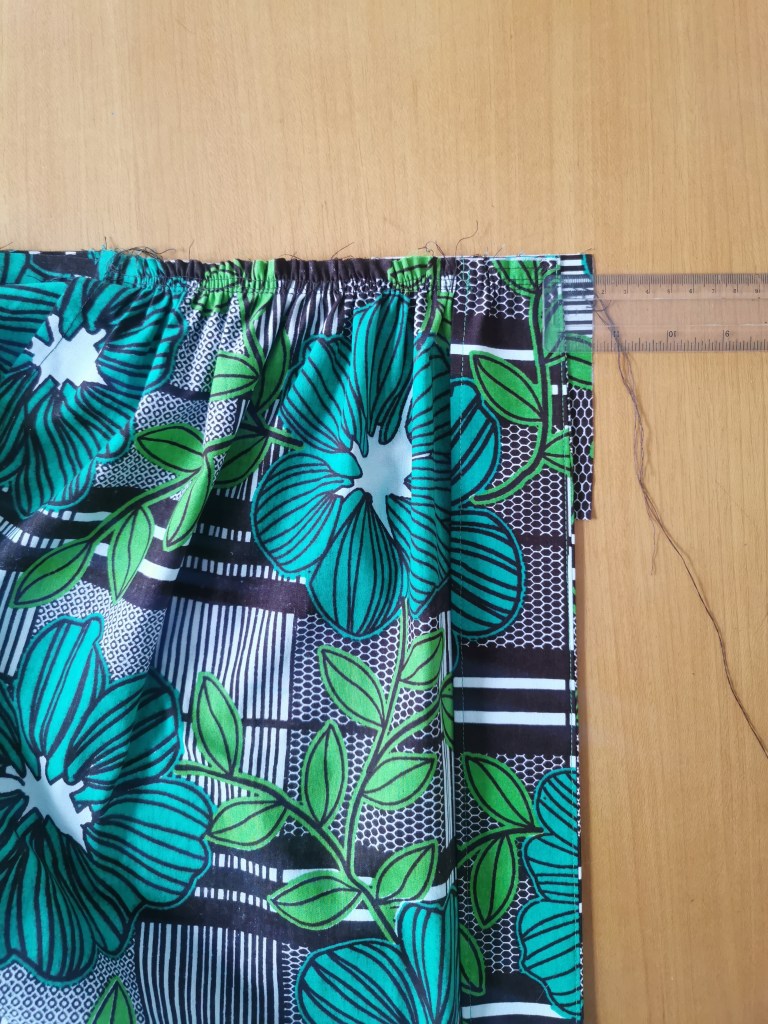
Press and pin the remaining open edge in place so it just overlaps where it joins the skirt pieces. Stitch in the ditch or edge stitch to hold the waistband in place. Leave a gap of about 5cm at both ends of the back waistband – this will be to thread the elastic through.
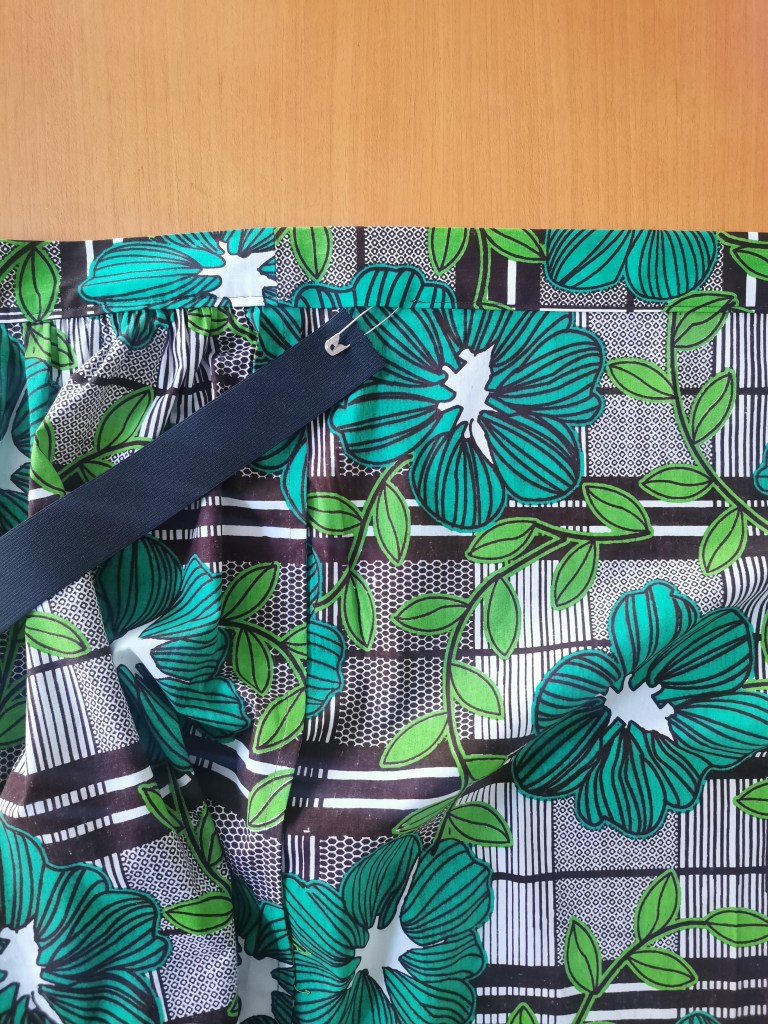
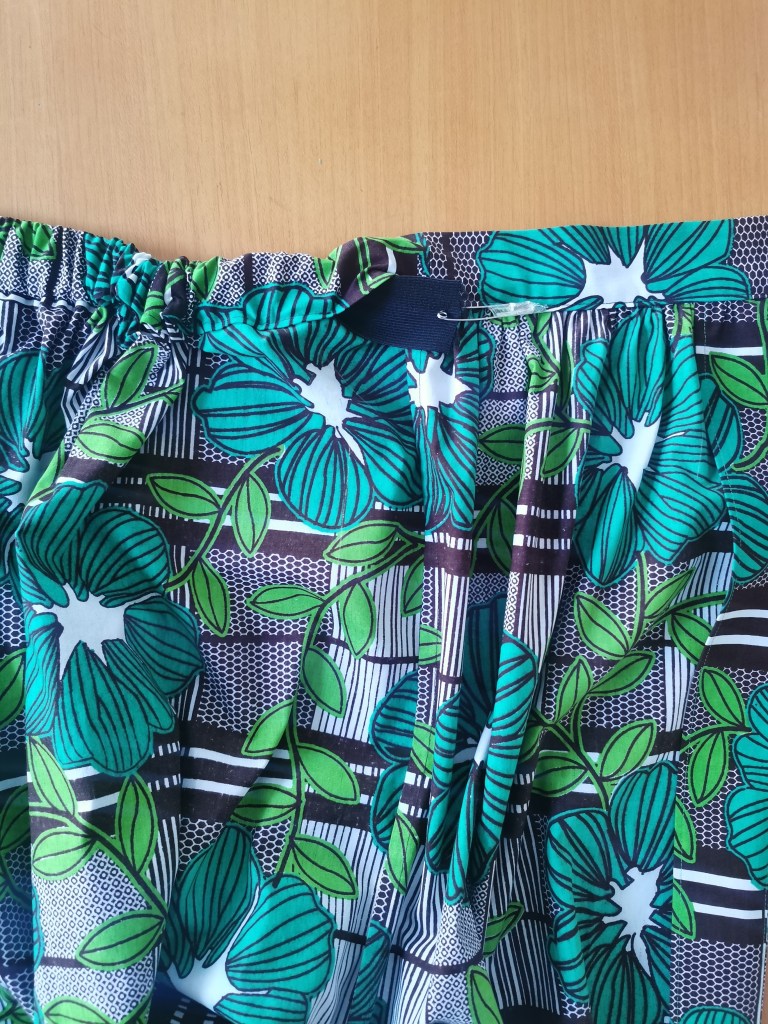
Grab your elastic and work out how long you’d like it to be. I do this by simply holding it up to me and feeling how tight I’d like it to be. If in doubt, cut longer than you think you’ll need so, if need be, you can take it in. Make sure to add on 1cm extra for sewing it in place. I cut mine 39cm long.
Place a large safety pin in your elastic and start feeding it through one of the gaps. Once the other end of the elastic is JUST going into the waistband, stick your finger in the gap and shuffle the elastic so it crosses over the side seam of the waistband. Ensure it’s going over by at least 5mm then stitch in the ditch from the right side to secure that end of the elastic.
Now that’s held in place, continue to feed the other end of the elastic (with the safety pin in it) through the waistband and out the other gap. Remove the safety pin and secure the end of the elastic in the same way as the other. Be careful that it doesn’t ping back into the waistband so hold it tight until it’s stitched in place!
Hold the skirt round yourself and check you’re happy with the fit. You may want to let the elastic out a bit or pull it tighter.
Stitch the gaps closed – you’ll need to pull the elastic taut to make the waistband smooth. This step is fiddly so take your time.
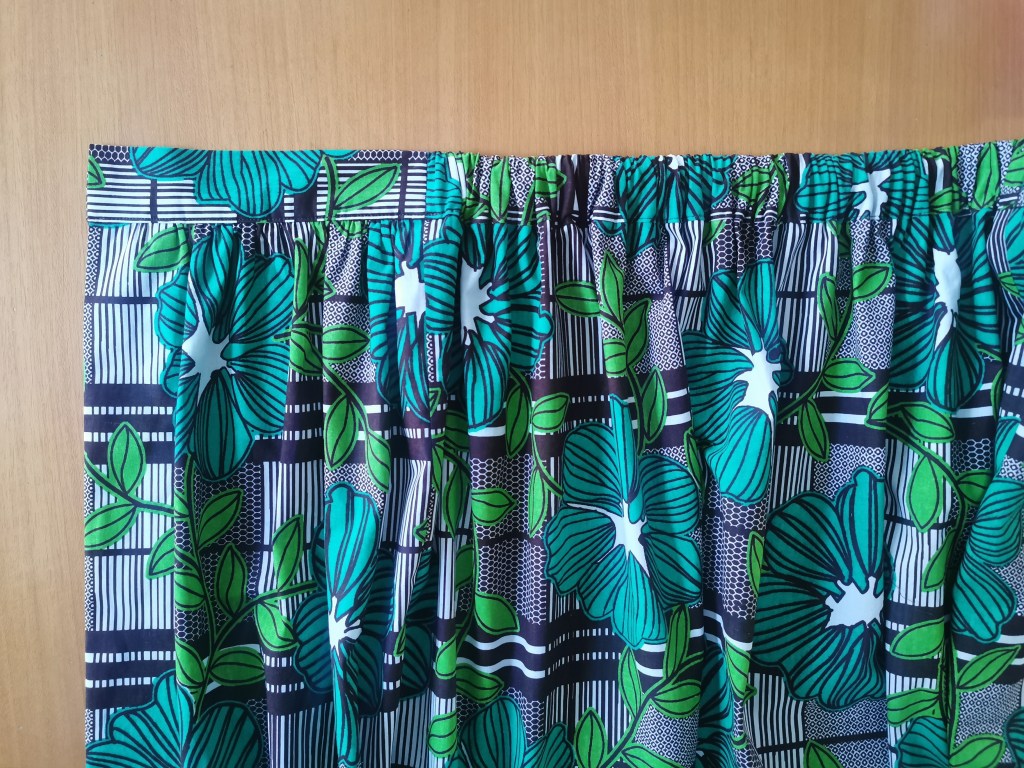
It’ll now look something like a skirt!
Mark equidistant gaps for where your buttonholes will go (remembering the skirt will fasten right over left). Stitch the buttonholes then add your buttons.
Try the skirt on to see how much you’d like to hem it by. If needed, trim off any excess. Turn up 3cm and press. Fold that 3cm in on itself to create a 1.5cm hem, press and edge stitch in place.
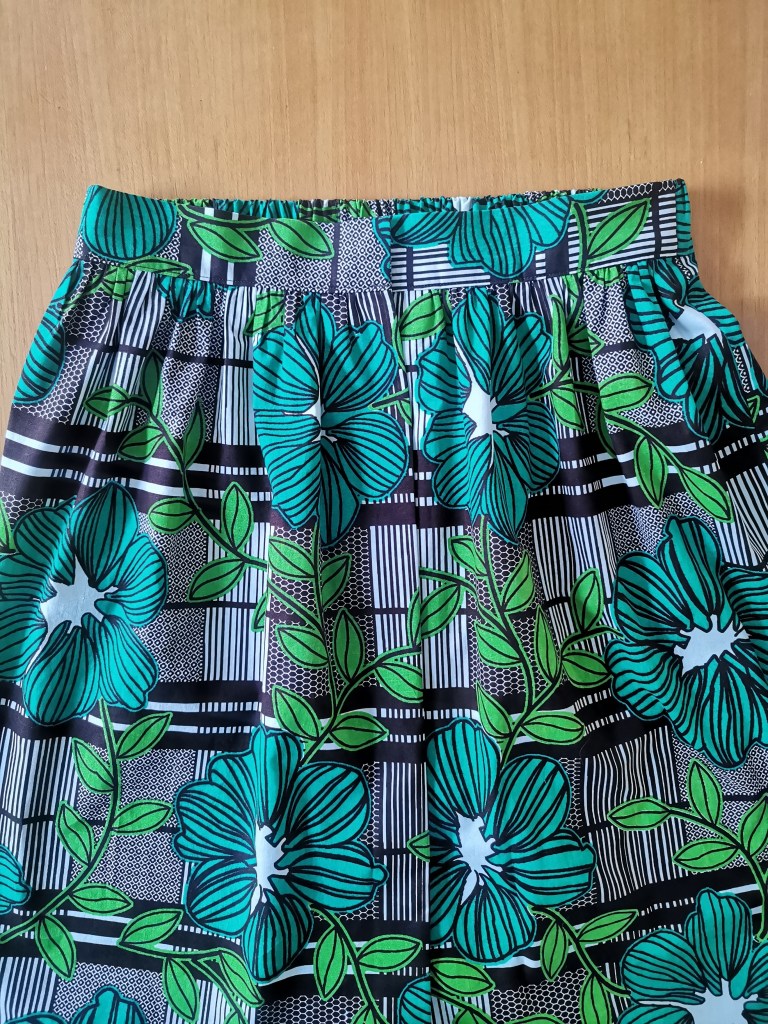
Ta-dah! Your self-drafted button up skirt is complete, well done!

See what I mean about the measuring being the slow part? It’s so worth it though, and I think straight forward shapes like this help you see you CAN self draft!
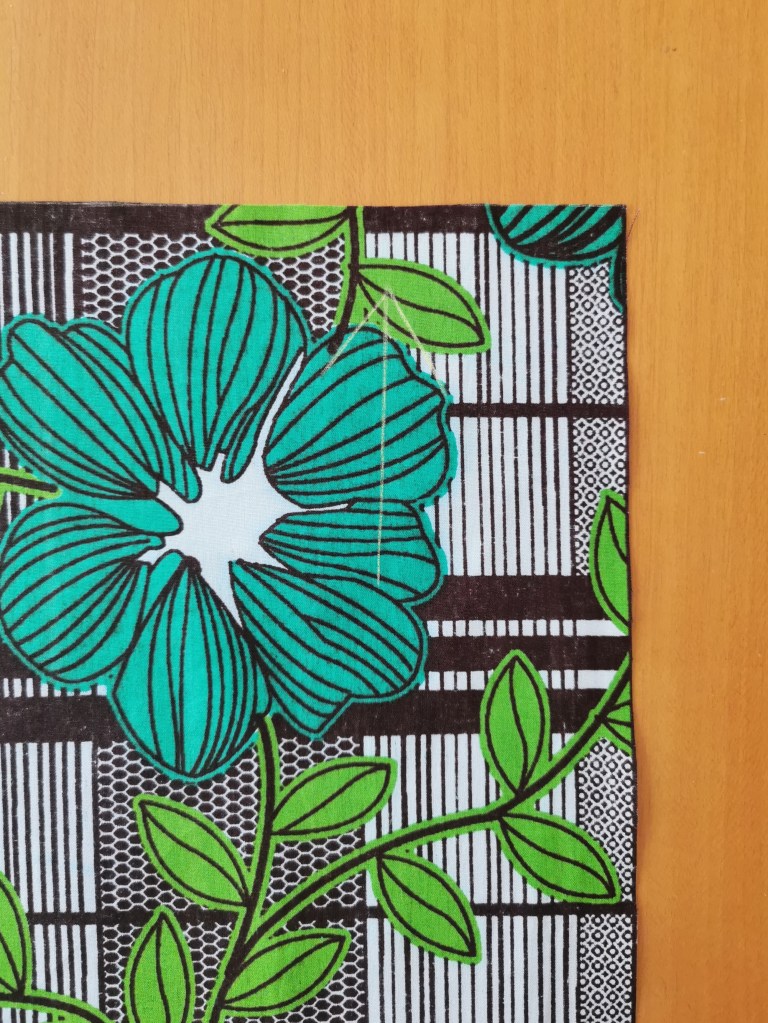
Once you’ve got your pattern drafted it’s a lovely quick project to recreate; you can use dot and cross paper or the back of wrapping paper. I made this super summery one with amazing fabric that was given to me by Dovetailed. They sell incredible African wax prints, so make sure to check them out!
I hope you enjoy sewing (and wearing!) this skirt. If you make one, please do tag me in your social media posts, I’d love to see your versions. And if you get stuck on any bits, just drop me a message here or on Instagram @the.polka.dot.palace.

One thought on “Let’s sew a button up skirt”