The Kielo wrap dress from Named has become something of an icon in the sewing world. Its distinctive design can be spotted a mile off, and I don’t think I’ve seen a bad word said about it. And quite rightly so. This awesome pattern has been blogged into oblivion, so fear not, this is not a pattern review! Instead, I thought I’d share details of a couple of modifications I made to the construction.

A couple of years ago I saw a photo of someone (sorry I can’t remember their name but if you know who I mean, please let me know!) who made a Kielo with a floral back and a striped front. It was incredible. I decided to try to recreate my own contrast Kielo with different scale ginghams. The design has a long seam down the centre back, and I didn’t much fancy pattern matching that down the gingham, so I cut the back on the fold. To make sure I could still march everywhere (why stroll when you can march?), I left a slit open on both side seams. This could potentially work out to lessening the stitching three-fold because there is no stitching the back seam, and it means shorter side seams to sew up. Brucey bonus.

However, I doubled up on the amount of stitchery involved by sewing it all with French seams. I love a French seam, but for ages I thought it wouldn’t be possible on the Kielo due to the ties. However, friends, there is a way!
This may be obvious to you clever lot, but as it took ages for the lightbulb moment to hit me, someone out there may wondering how to do it. That one person: this is for you.
As with any French seams, sew your front and back together wrong sides together at 5mm, ignoring the waist ties for now. Trim your seam allowance then flip the whole thing through so right sides are together and give it a good press. Now’s the fiddly bit. Reach in through the arm or neck hole and poke the waist tie right up into the corner of the ‘wing’. You are reaching inside the dress, sandwiching the tie between the front and back pieces. Keep poking and shuffling until it sits totally flat in the highest part of that corner, touching the seam. Pin it in place, then re-sew the whole seam at 5mm again. This will now catch the waist tie in place. I was a bit worried that it may not hold for very long, so I back stitched over the tie section a few times to really secure it in place.
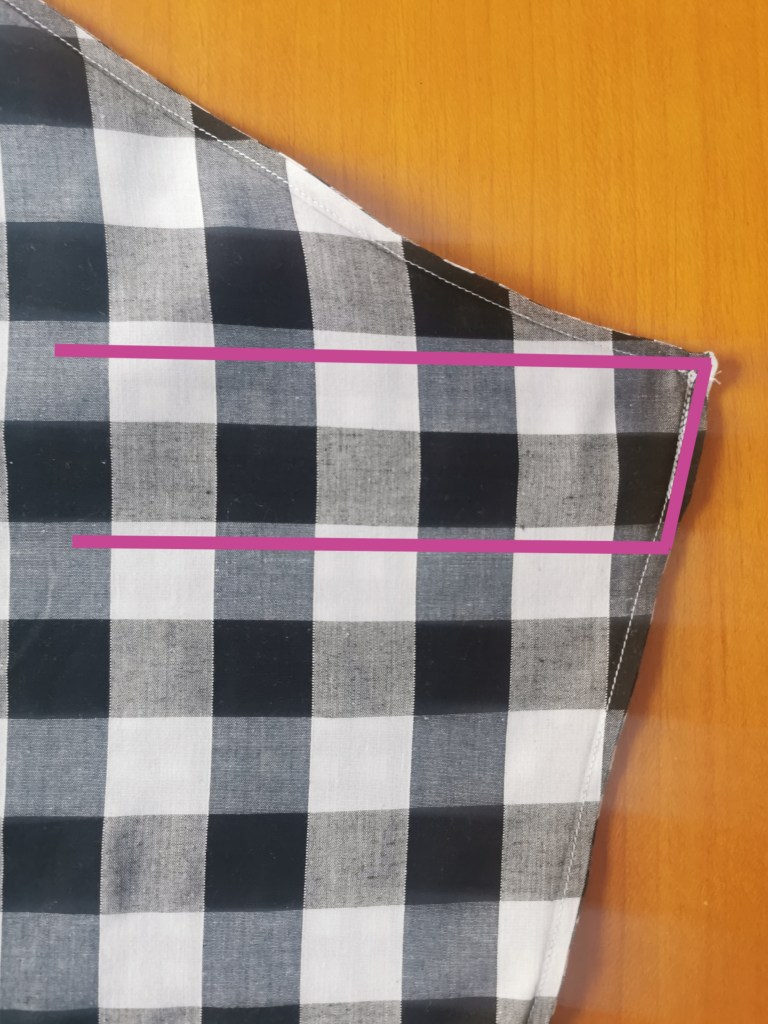
As for the side splits, this can also be a bit fiddly when doing a French seam. I pressed the seam allowance to the back, then pressed over the 1cm seam allowance that is left on the split section. Fold this in on itself to hide the raw edges and stitch down, all the way up one side of the split, across the top, then down the other side.
It’s not the neatest on the inside but who cares. You may also want to do a bit of a bar tack/back and forth at the top of the split to avoid it ripping if you’re a particularly keen power walker.

Inside the side split 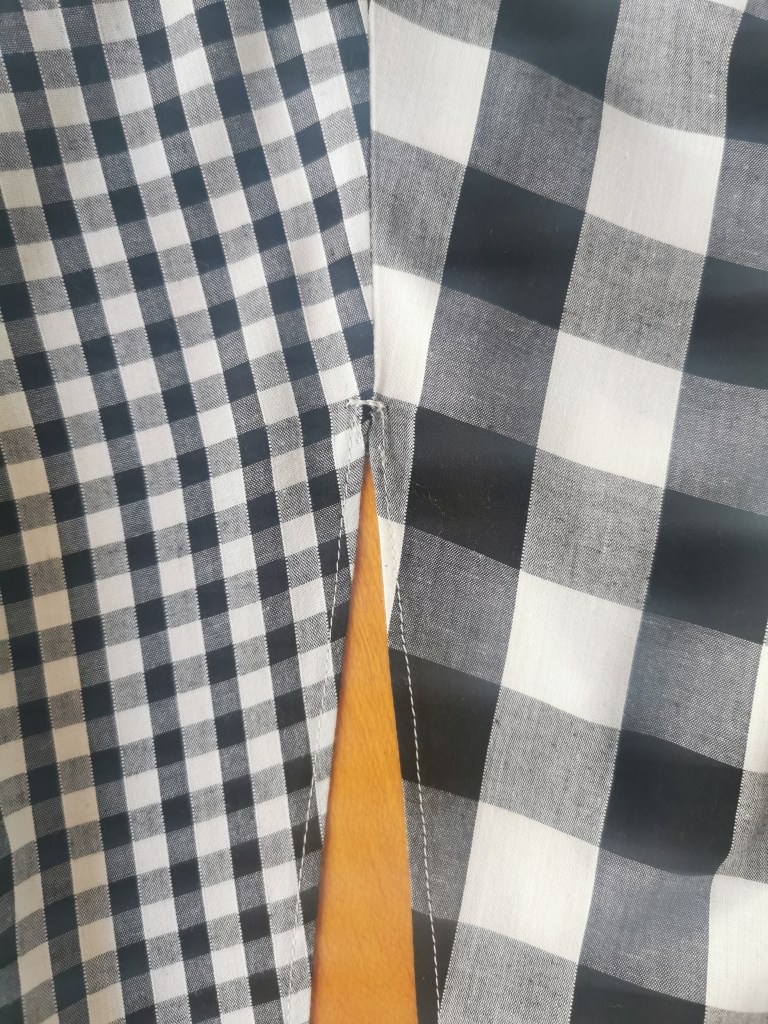
How it looks from the outside
My final tip is for bias binding the armholes: don’t start at the top of the side seam! This is a bit of a v shape, so it’s really difficult to start and finish there. Instead, go 2cm up the back armhole and start your binding there.
I initially thought this Kielo had been a bit of a disaster; when I tried it on something wasn’t quite right. I think the mix of gingham felt a bit much, and the small-scale print being cut on the diagonal for the wings looked really odd. I was beginning to hatch a plan to repurpose the fabric, when I realised I could just tie it up at the back! I’m so relieved as now I love this dress and I’m so glad I finally made my own contrast Kielo!


2 thoughts on “A Kielo with added ooh-la-la”