The Portobello Trousers by Nina Lee is a pattern I’ve had for ages but for some reason never got round to making. I’ve been getting more into trousers and separates, so the time was finally nigh to make some Portobellos!
I’ve always struggled to get trousers to fit (maybe the real reason behind the Portobello-avoidance is coming to light), so I decided to toile these and make a pair of shorts to begin with.

The Portobello Trousers have an air of 1940s laidback luxe to them. With a fitted waist and darts at the front and back that flow beautifully into a loose leg shape, these are flattering, versatile and comfortable.
I’m normally a size 8 in Nina Lee patterns, but for these my waist measurement falls bang on the garment size for an 8 i.e. no room to breathe! I will say this is down to lockdown weight finally catching up with me, it’s not because the sizing is off on the pattern. As a 10 at the waist would be too big, I still decided to grade between my usual size 8 at the waist and 10 at the hips (where I definitely need the extra space). The trouser has a loose flowing shape so the only part you really need to worry about fitting closely is the waist, so if you need to grade between sizes like me, this is a great pattern to choose.
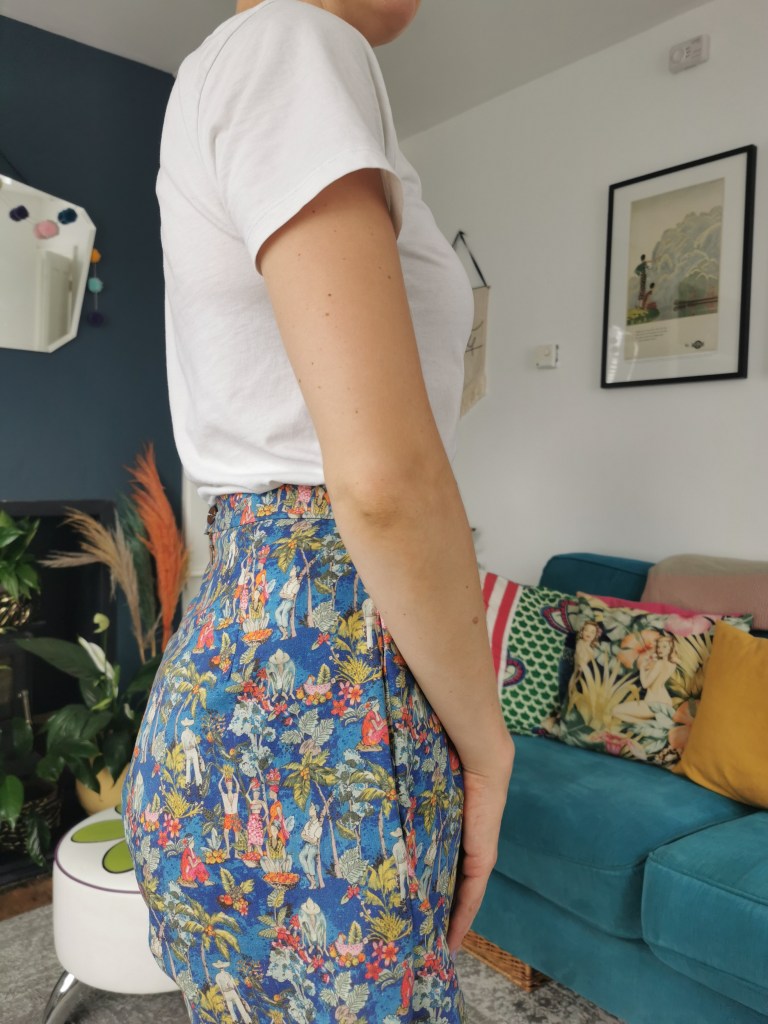
Excuse the arse shot, but hopefully this helps show that this pattern is great if you have a sway back and/or if your waist is a lot smaller than your hips:
As this was a wearable toile, I didn’t want to risk wasting loads of fabric (the Portobello leg pieces are quite wide) so I decided to make shorts. This would also fill a wardrobe gap for me, so it was win win. To alter the pattern into shorts, all I did was chop them off at what looked like a reasonable length, and added 1cm either side of the hem – from experience, shorts always have wider leg pieces than trousers, presumably so we can leap around freely on glorious summery days.
Given the size 8 waist was going to be snug, all I did was sew a 1cm seam allowance at the side seams, and the stated 1.5cm everywhere else. This would hopefully give the right amount of breathing space without needing to make any big adjustments to the pieces.
What I (stupidly) didn’t factor in, was that the waistband would need to be longer to accommodate the change I made to the side seams. I didn’t want to waste the waistband I’d already cut, so I just added on a small extension, and it can barely be seen with the button attached.

I love the tab detail at the waistband which overlaps to attach with a button – it’s a subtle but gorgeous detail. This was, however, the only step in the instructions that didn’t quite add up. The instructions say to sew a 1.5cm seam allowance to close the end of the waistband, which makes sense, but then to pivot and continue with a 1.5cm seam allowance to meet the lower level of the zip (where I’ve drawn a yellow arrow). To me, this would mean it wouldn’t turn through correctly, as the lower edges are already at the same width for the tab to be an extension of the waistband. If you look at the photo, if I’d stitched 1.5cm as shown on the instructions (where I’ve drawn a pink line), it wouldn’t have turned though properly. Instead I just slip stitched that lower edge closed.

The final shorts are great; they’re casual and comfortable but still look somewhat polished, basically the holy grail of sewing aims for me. They do actually feel slightly too big, so I probably should have just made them with the correct seam allowances – but this is why we toile! I’ll be making more Portobellos, definitely the trousers next, so make sure to follow along with me on Instagram!

Cute shorts! I really love the print as well!
LikeLike
Thanks so much!
LikeLike