This cross-over bag style has been around for a while now; it’s quirky yet simple and really versatile. I decided to draft my own and it’s turned out to be so useful, so I thought why not share it*?
I’ve used these bags for all sorts, from the finishing touch for a wedding outfit through to holding the basics for everyday use. This is also a great scrap buster as it’s made up of 8 small(ish) pieces. So let’s get sewing…

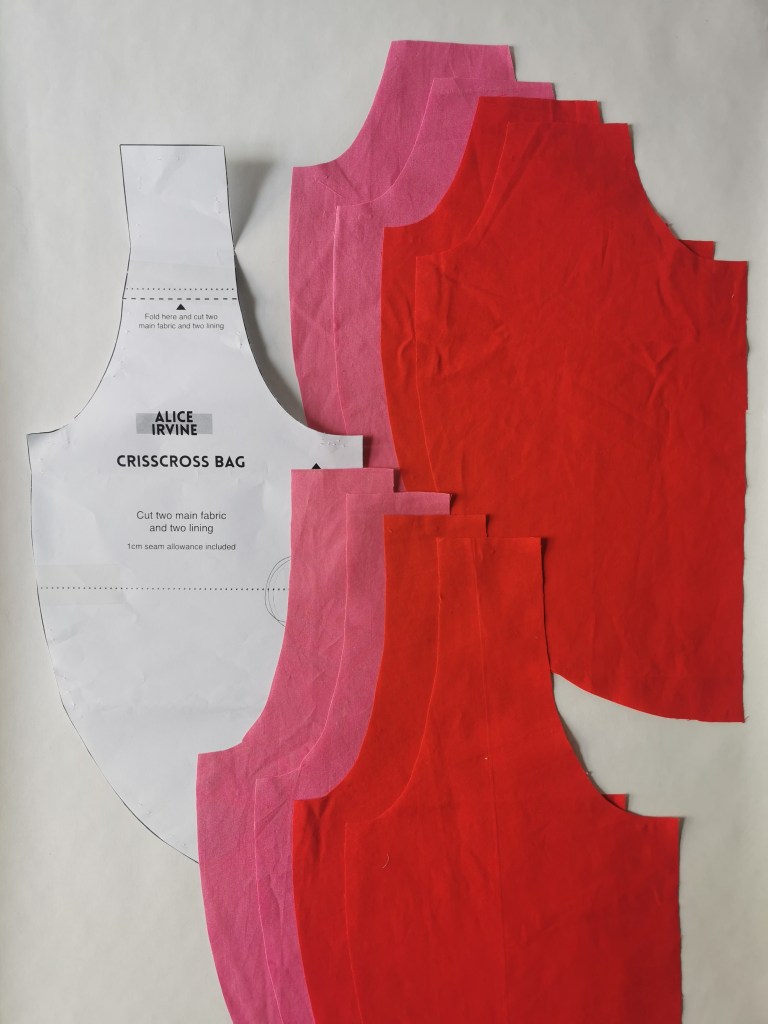
1) Click here to download the pattern. Print and assemble.
2) Cut out your pieces. You’ll have 8 in total, 4 with a long handle and 4 with a shorter handle:
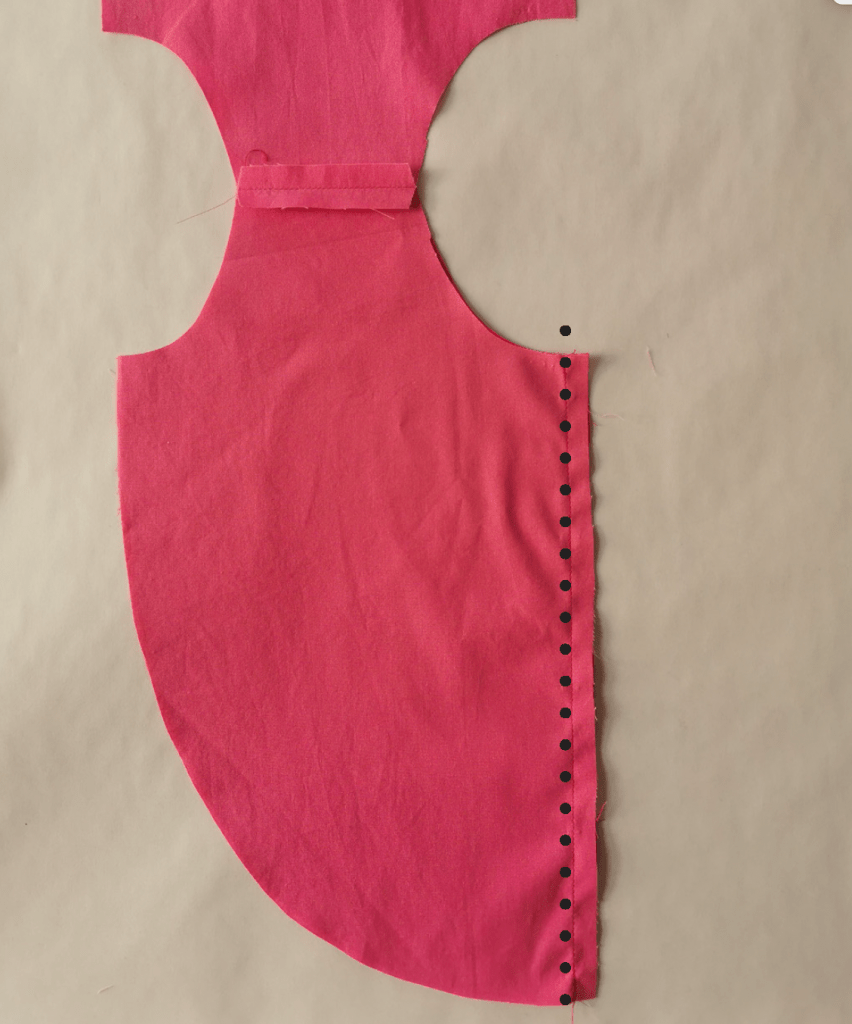
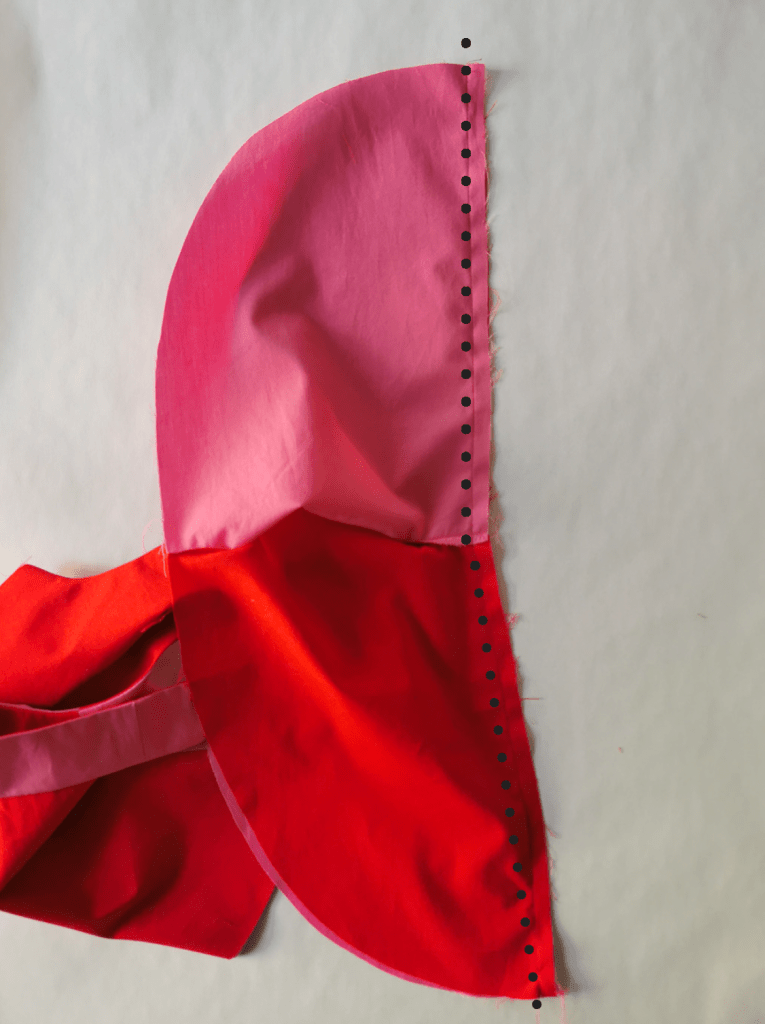
3) Take your main fabric pieces. Using a 1cm seam allowance, sew a short handle piece to a short handle piece where the dotted line on the image shows. Then sew a long handle to a long handle:

Repeat for the lining. Press the seam allowances open.
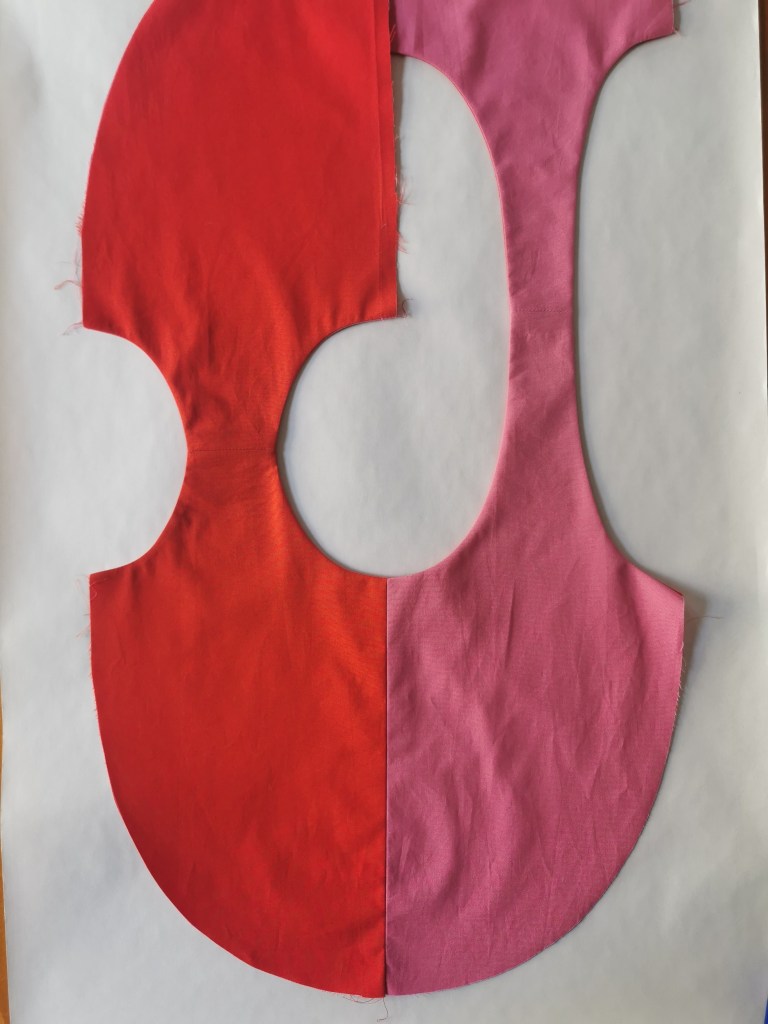
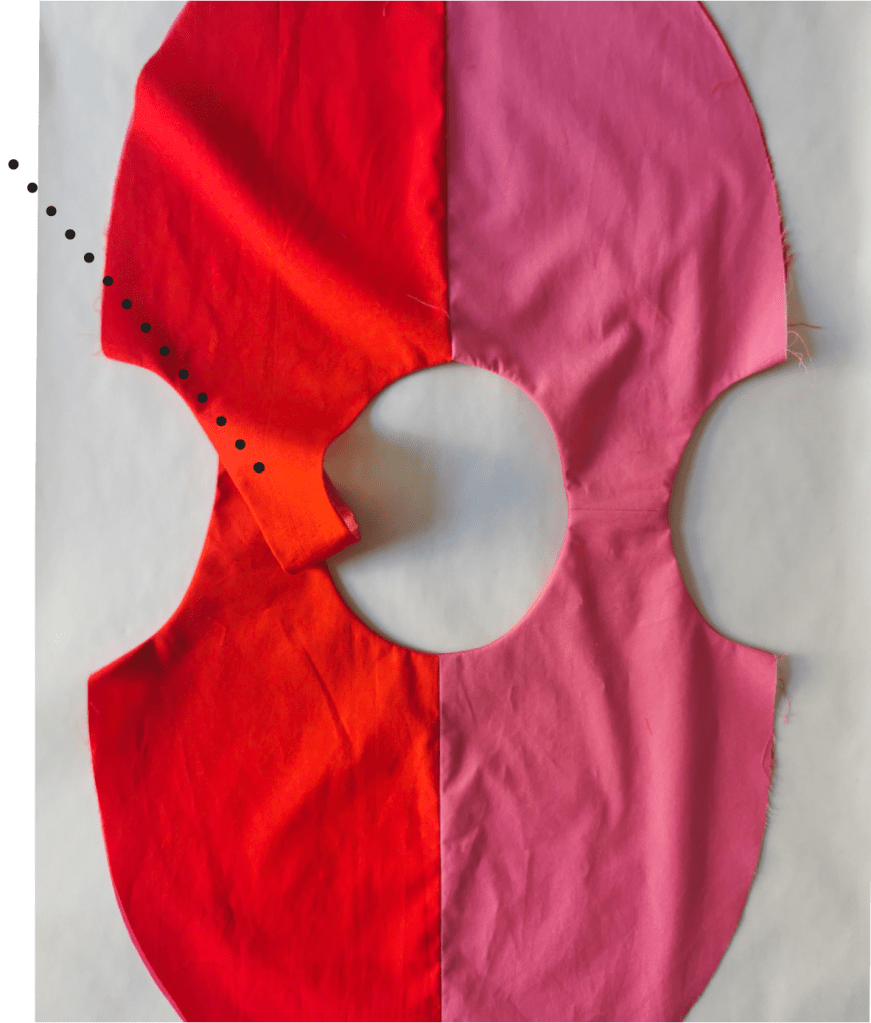
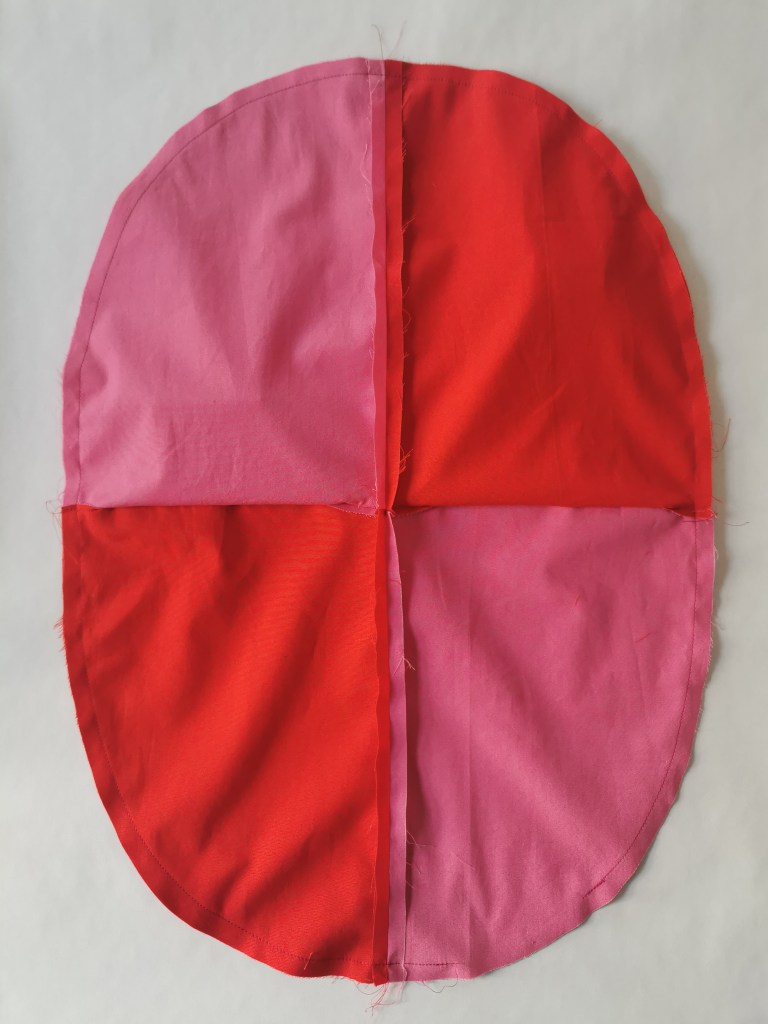
4) Using your main fabric, take one piece that has two long handles sewn together, and one piece that has two short handles sewn together, and place them right sides together. Sew down one of the centre seams.
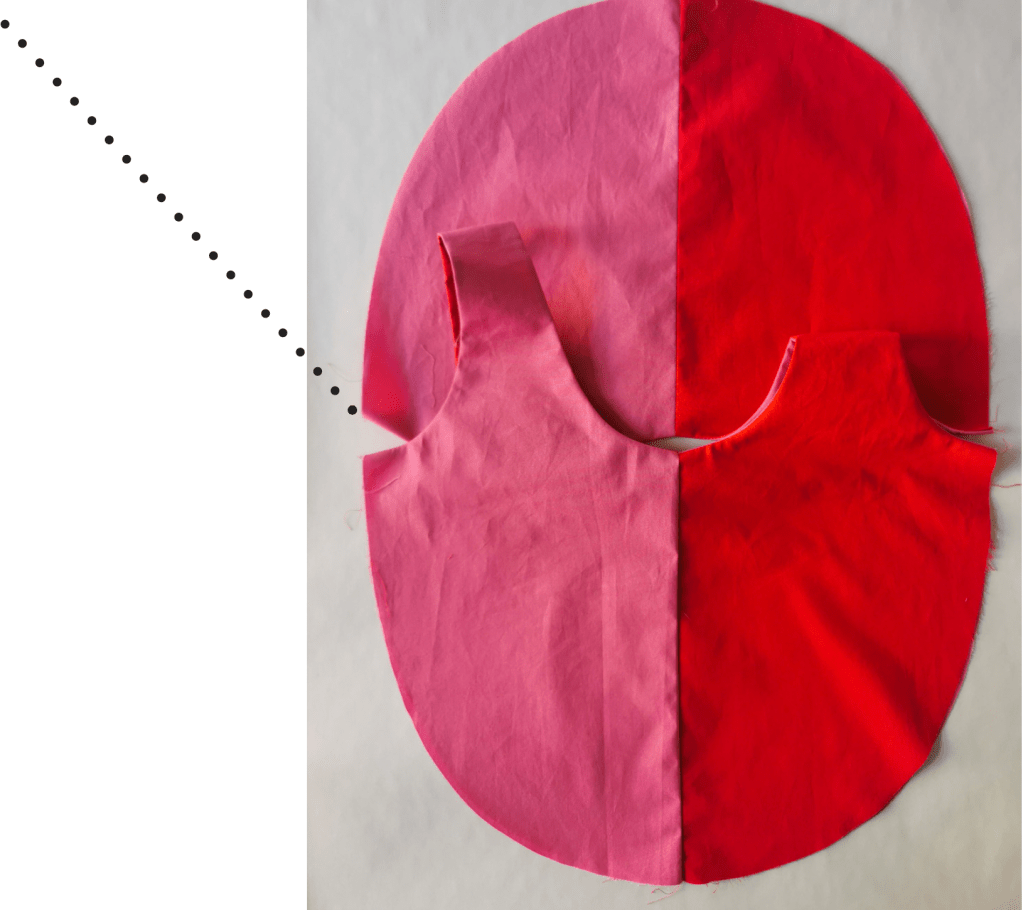
Repeat for the lining pieces, making sure it mirrors the main bag i.e. you can lay it on top and the same seam will be left unsewn (as you can see in the photo for step 5 below).
Press all seam allowances open.
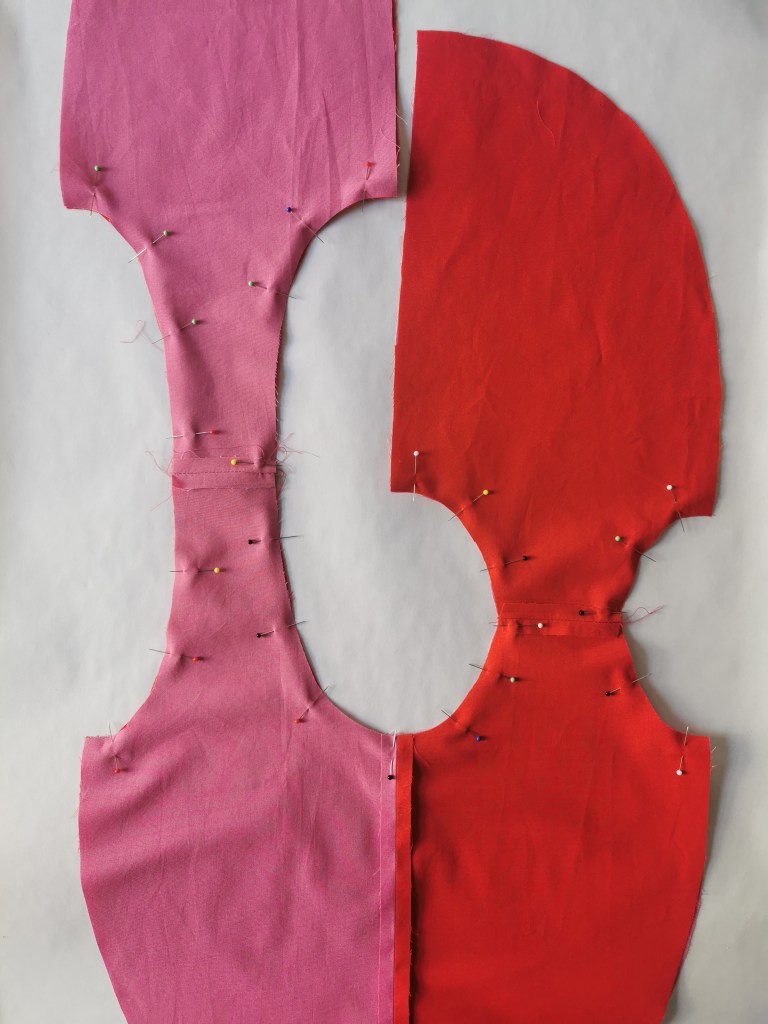
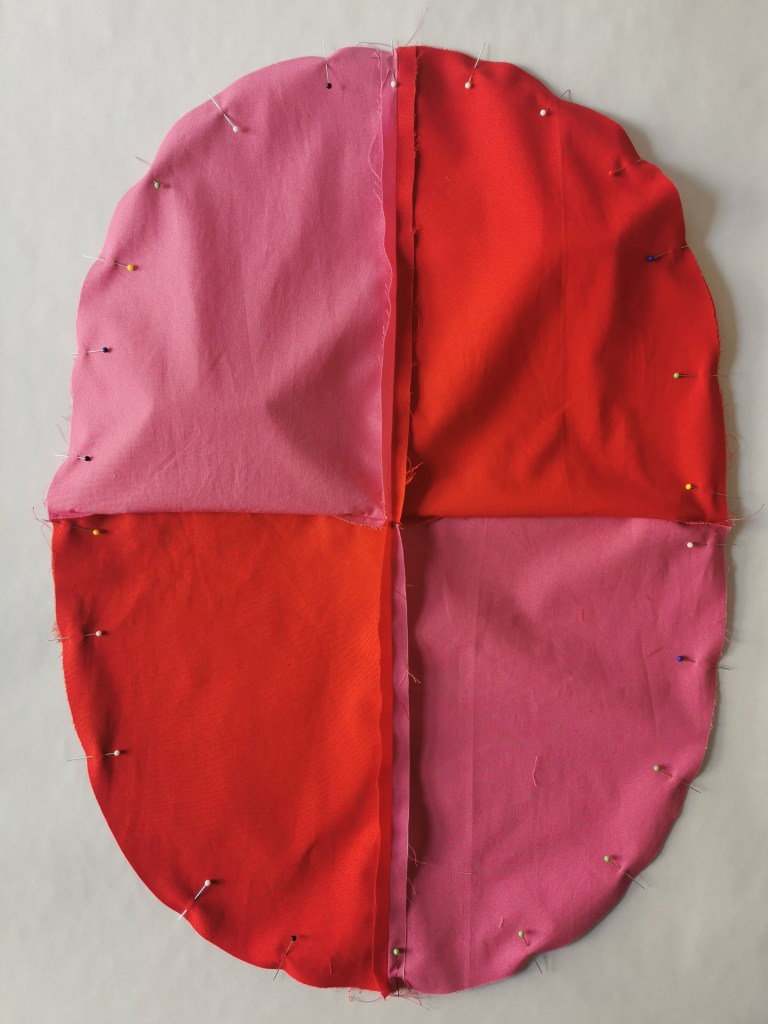
5) Lay one on top of the other, right sides together. Stitch around all curved edges that are pinned in the photo:
6) Trim seam allowances and turn right side out by pulling through the handles. Press:
7) We now need to close that one seam that isn’t connected.
Open out the straight edge that isn’t yet sewn and place right sides together, matching up the seams. Pin in place and stitch the whole way down, across the seam allowance as shown in the photo:
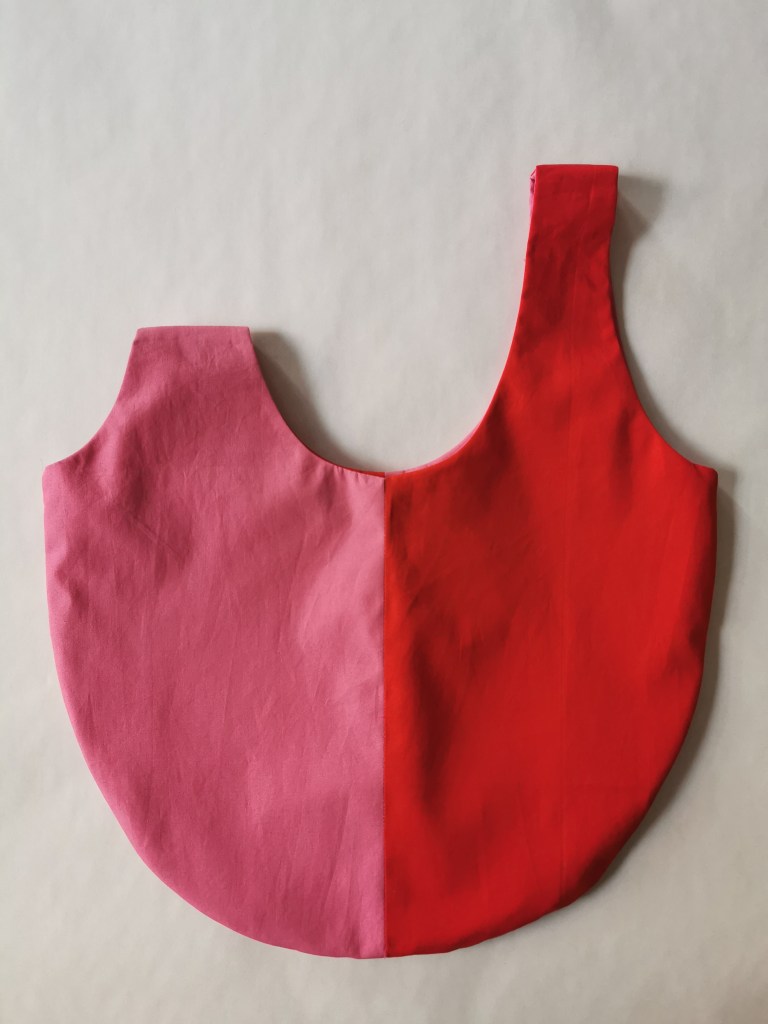
8) The project will start to resemble a bag at this point (!), with one side with a longer strap than the other:
9) Lay the bag flat with sides just about touching:
10) Flip one side over onto the other so you have a large oval shape. Repeat on the reverse so the main bag pieces are touching right sides together and the lining pieces are touching right sides together:

11) Pin the sides together all the way round the oval shape.
Stitch all the way round but leave a gap of about 8cm in the side that has your lining.
12) Pull the bag back through the 8cm gap. Slip stitch the gap closed.
Give it one final press and you are done!
To use, simply slip the long handle through the short one.
Here’s one I made earlier!

Enjoy your gorgeous new bag! If you share any photos on Instagram, don’t forget to tag me @the.polka.dot.palace so I can see your lovely makes!
*Please note: I am not a professional pattern designer, this is just the pattern that I drafted to recreate this well-known bag style. I hope you enjoy making and using the bag! If you have any feedback or suggestions, please do get in touch.

Hey there! Thanks for this cool pattern! 🙂 Unfortunately, I tried to print it (“actual size”) but the document seems to be larger than an A4 sheet so I’m not sure it’s going to be easy to use… Bit maybe it’s me?
LikeLike
Hi! Thanks for the message, the pattern is spread across two A4 pages, so if you print (and set it so it doesn’t print double sided!), it should all become clear. Let me know if it doesn’t work 😊
LikeLike
Hey!
Thanks for your reply! I set the printing on “landscape” and it worked. Now on with the fun part! 🙂
LikeLike
sorry… “BUT maybe it’s me?”
LikeLike
Found just now through @sewover50
Will tag when I’m done
Instructions are blissfully explanatory
I intend to use up some dressmaking scraps of odd fabrics
❤️
LikeLike