It is well documented that I love a bit of ricrac, and it would seem I’m not the only one. It’s the perfect trim to add a fun design flourish to your makes, and there are so many ways it can be used (I shared 3 ways in this Instagram post).
One of my favourite ways to use ricrac is to insert it within the seam to create a mini scallop-style edging. I saw this on the incredibly talented Megan of dinigooseandbird, who saw it on someone else, so the circle of sewists’ inspiration is well and truly in effect here. Inserting the trim involved a bit of trial and error to get it correct, so I thought I’d share how I got there to save you time (and dreaded unpicking).
Also it’s worth me mentioning I wasn’t planning to do a tutorial on this when I was sewing it, so the photos are rubbish – apologies! Next time I make one I’ll take better photos, but in the spirit of ‘better done than perfect’, hopefully this does the trick for now.
Let’s sew.
Step 1
Decide where you’re going to place your ricrac – you could go down a button placket, around a collar, along a yoke, anywhere there’s a join. Without attaching any other fabric or ricrac, baste the pattern’s seam allowance along the edge you’re going to (eventually) place the ricrac on. Here I’m adding it around a collar.
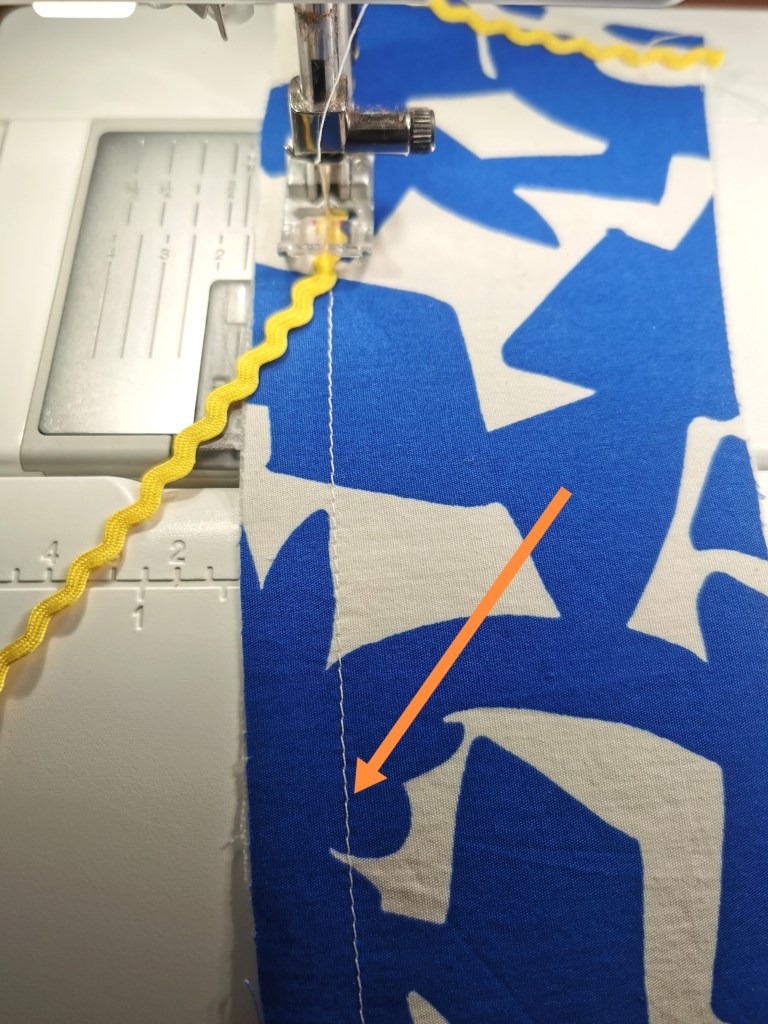
Lesson to heed here: It may be tempting to use a ruler/pattern master and draw on the seam allowance with tailor’s chalk, but all rulers are not created equal, and it allows for too much room for error. You can see the difference on this button placket – on the left I marked with chalk, on the right I followed the steps shown in this post – so much more accurate!
Step 2
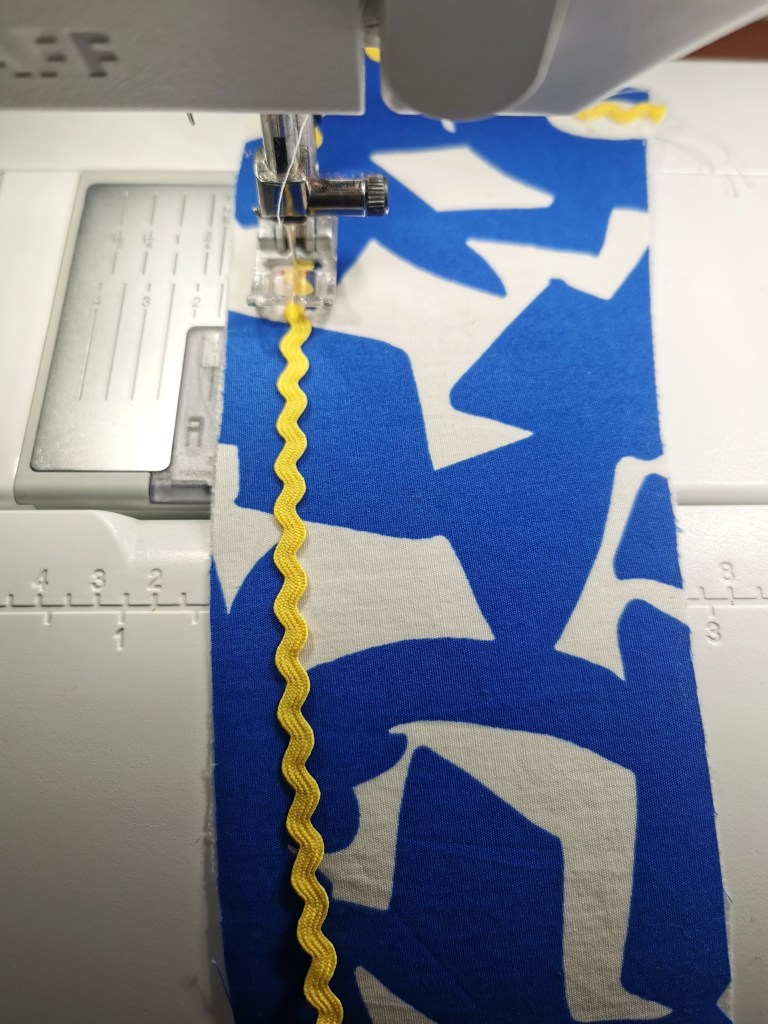
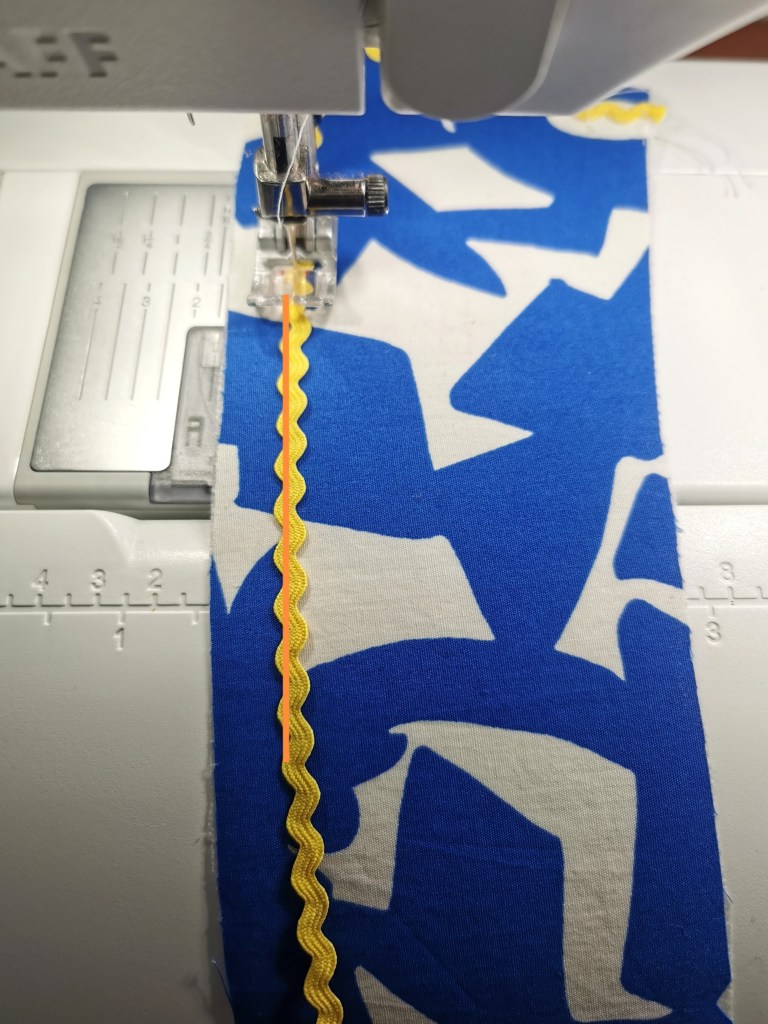
Lay the ricrac along the line you just sewed. You want the centre of the ricrac running down the line of stitching so that the stitches can’t be seen. Sew in place just within the seam allowance rather than down the centre of the ricrac, so it’s being held in place, but you don’t run the risk of these stitches being seen when it’s all sewn together.
Step 3
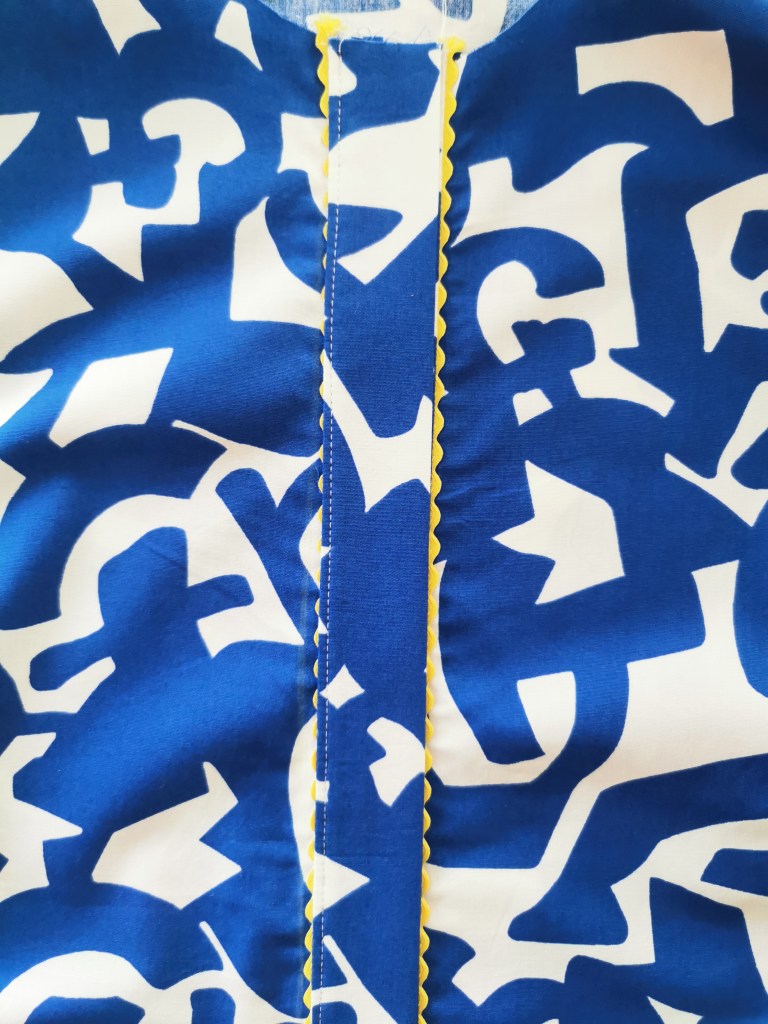
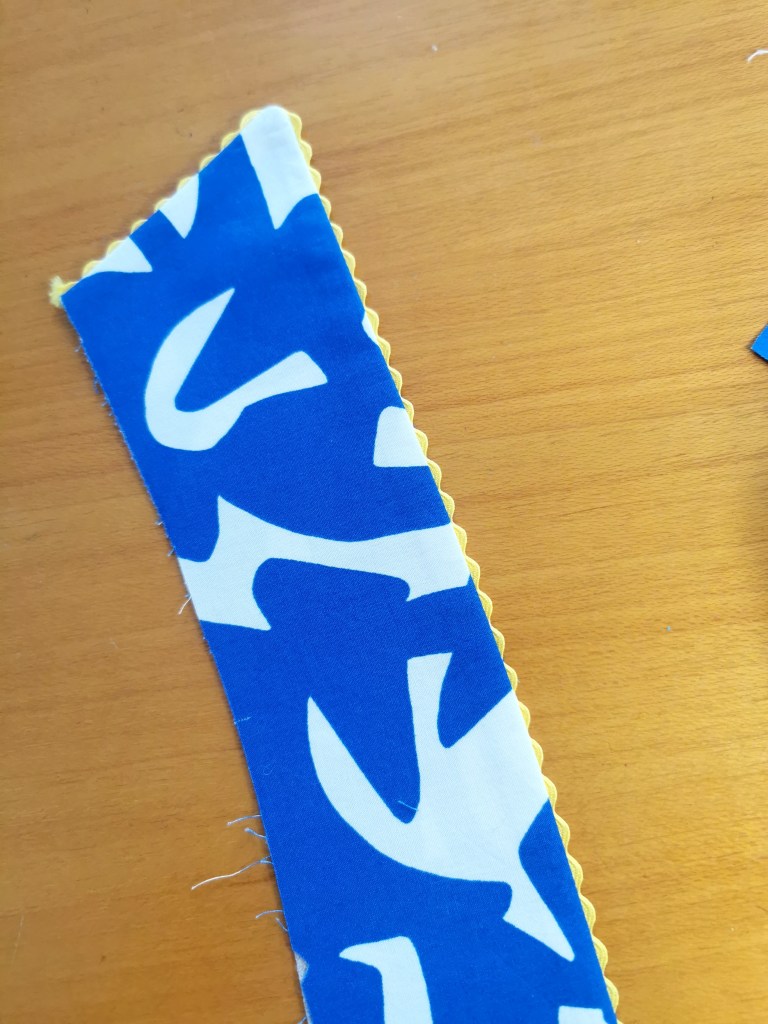
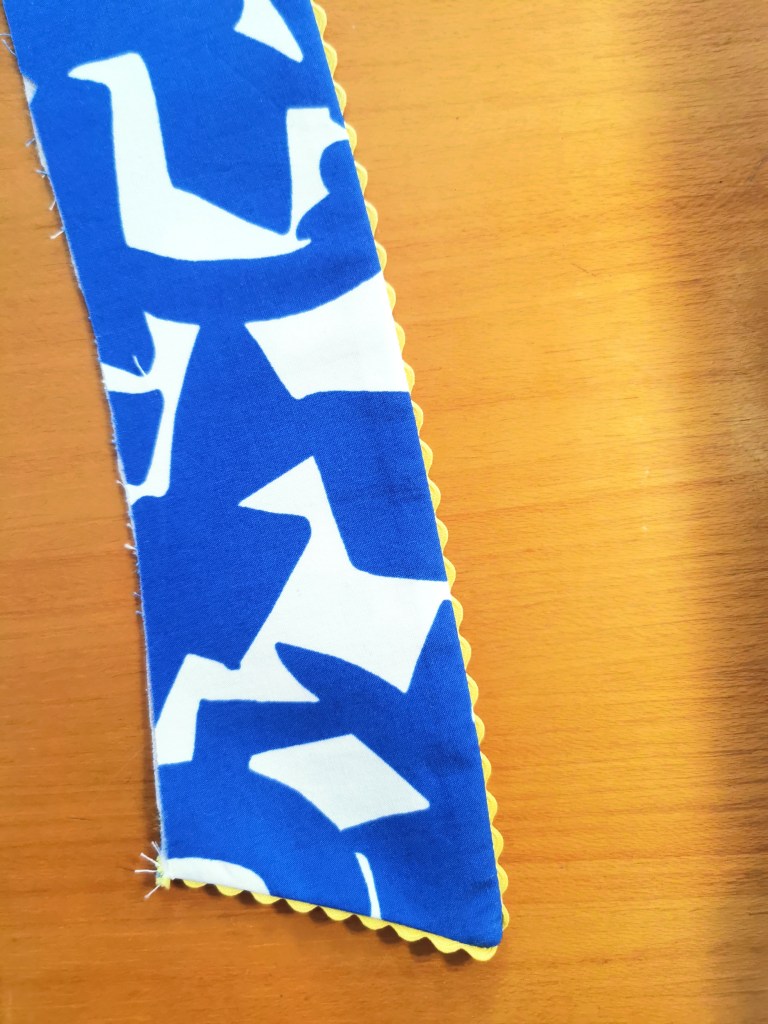
That’s literally it! Just continue to sew the next step of your pattern as per the instructions. The ricrac will now be sandwiched in the seam, creating this wiggly contrast detail. Tadah!
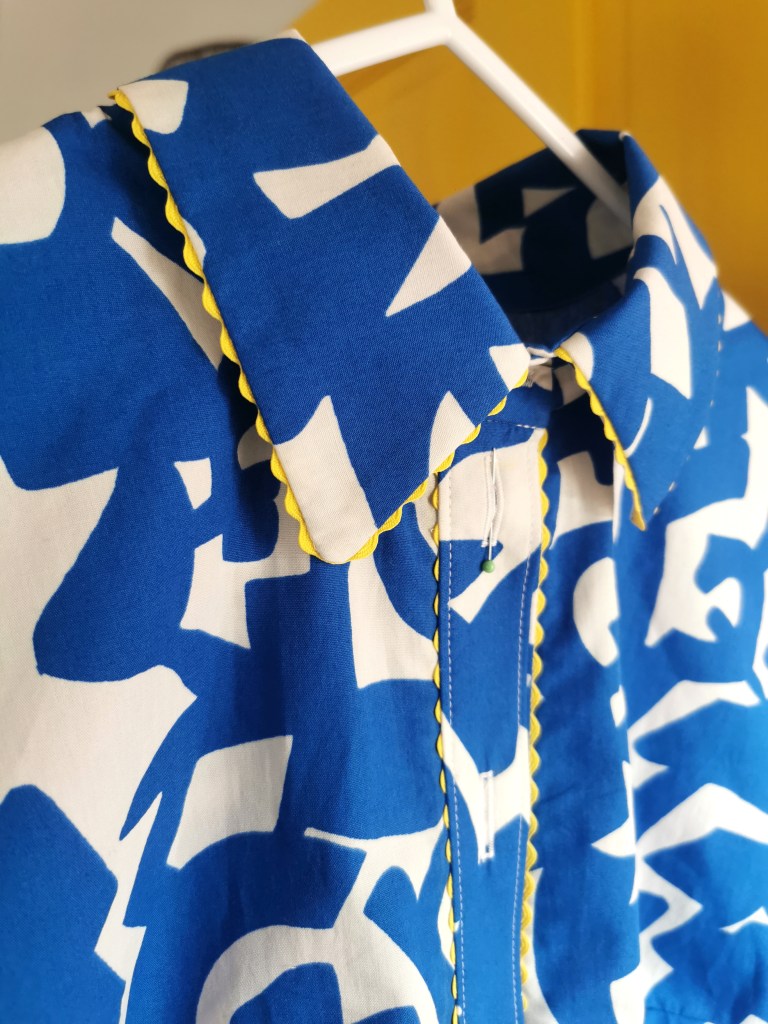
And the finished shirt…


This looks great! I’ve been using flat bias, will try Rick rack.😊
LikeLike
Thanks so much! Yay that’s great, enjoy! 💖
LikeLike
I love this! So clever with the larger rick rack on the hem as well, gorgeous!
LikeLike
Thank you 😊 yes the giant ricrac works so well, it’s not often you see it about so definitely worth adding to your makes to give them something a little different!
LikeLiked by 1 person