Well, hello! A new year and a blog post that isn’t about sewing!
Alongside sewing content, I thought it would be useful to share my adventures in sorting out our not-too-shit-but-shitter-than-we-expected house. We have gone from renting a two-bed open plan flat in South London, to owning a three-bed end of terrace little old house in Kent. The house isn’t a complete fixer-upper, but there’s a lot to do, so I thought it would be great to share the journey with you, and lessons learned along the way.
Here are my main take aways from my first few upcycling projects…
1. Look at shape, not finish
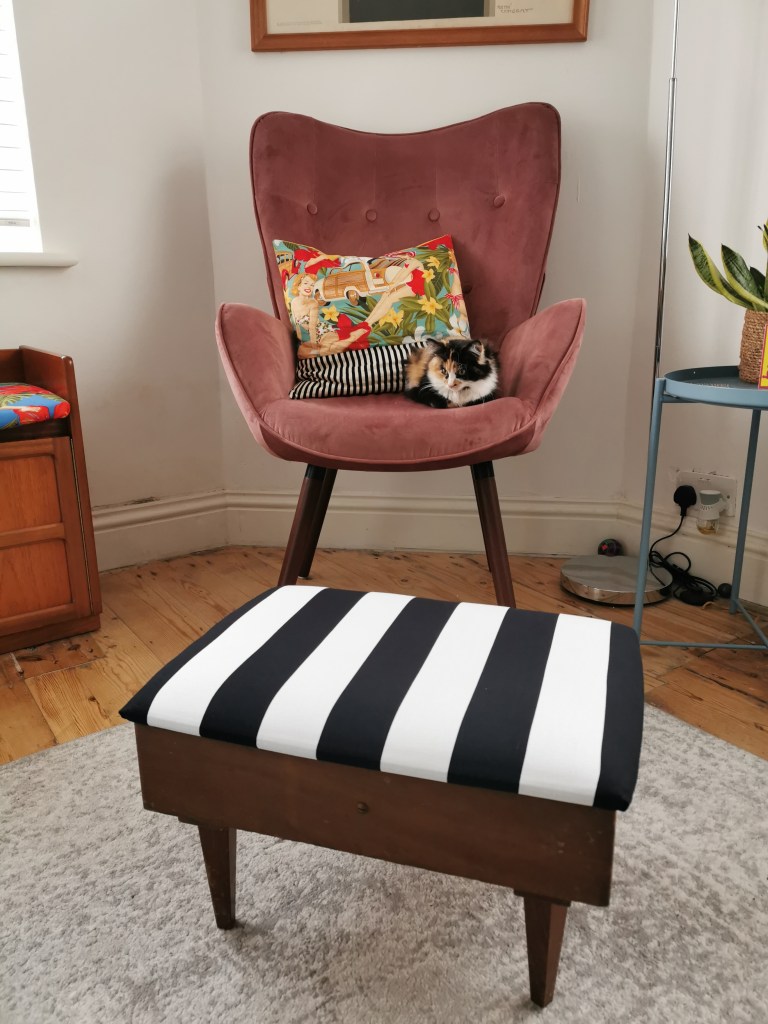
For particularly run-down items, look at the overall shape and try not to focus on how crap it currently looks. It’s amazing what a lick of paint can do – look how manky my chairs originally were (just ignore all the rubbish in the backgrounds – we’d just moved in)! If the overall shape is nice and the item isn’t falling to pieces, it’s good to go ahead with.


2. It’s not just for old stuff
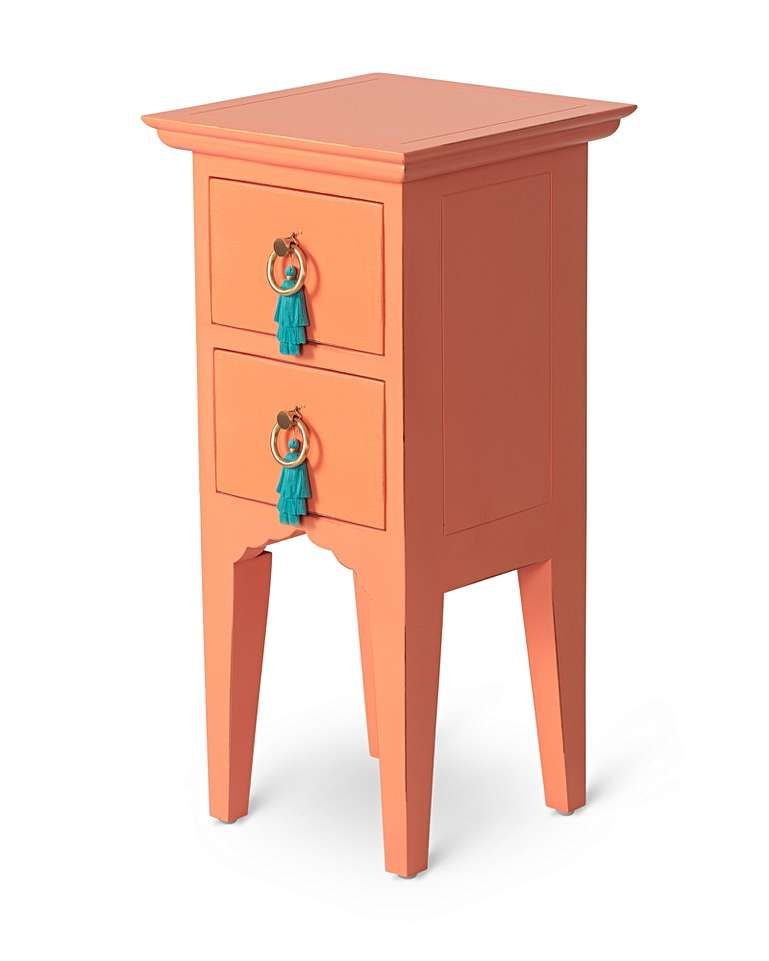
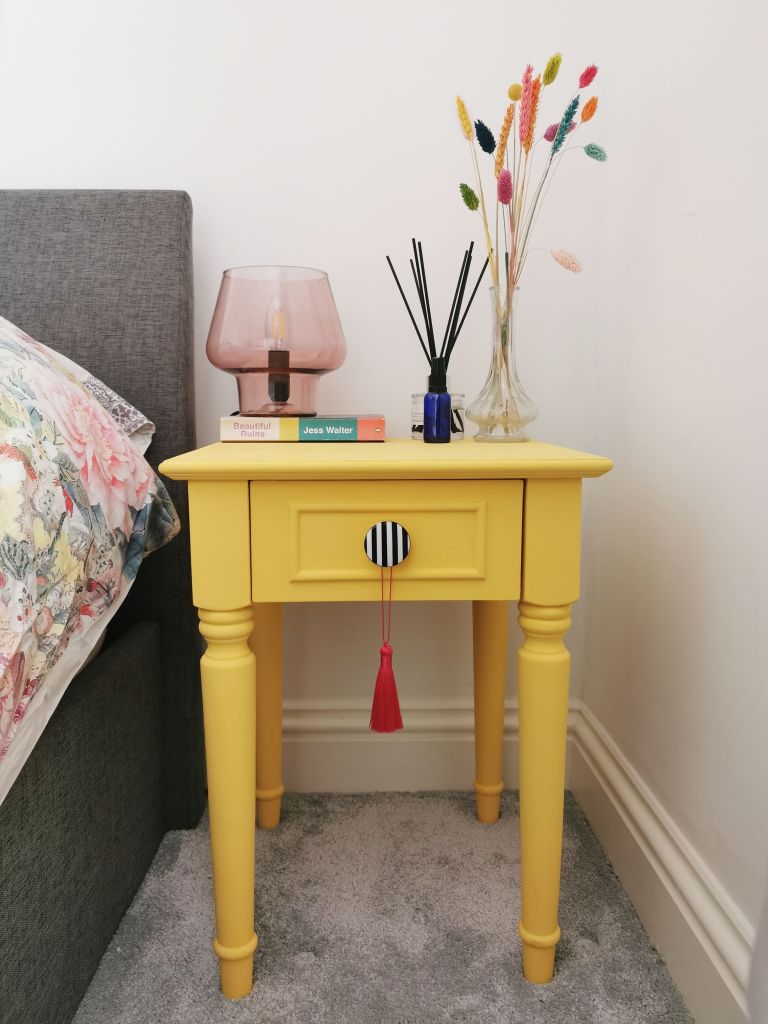
Upcycling isn’t just for old furniture, it’s also the perfect opportunity to turn new, basic items into something way cooler. I was lusting after a bedside table from Oliver Bonas (that was £155!), so I got this bedside table from Argos for £25, painted it and put on a tassel and doorknob from Etsy.

3. Keep searching
Second-hand sites like Facebook Marketplace and Gumtree are great for bargains, but you have to k-e-e-p l-o-o-k-i-n-g. It may take a few weeks (or months, eugh), but you’ll gradually find those perfect pieces you’re after. I sourced all our dining chairs from Marketplace for a something in the region of £35, and our table was FREE!
4. Buy cheap, buy twice
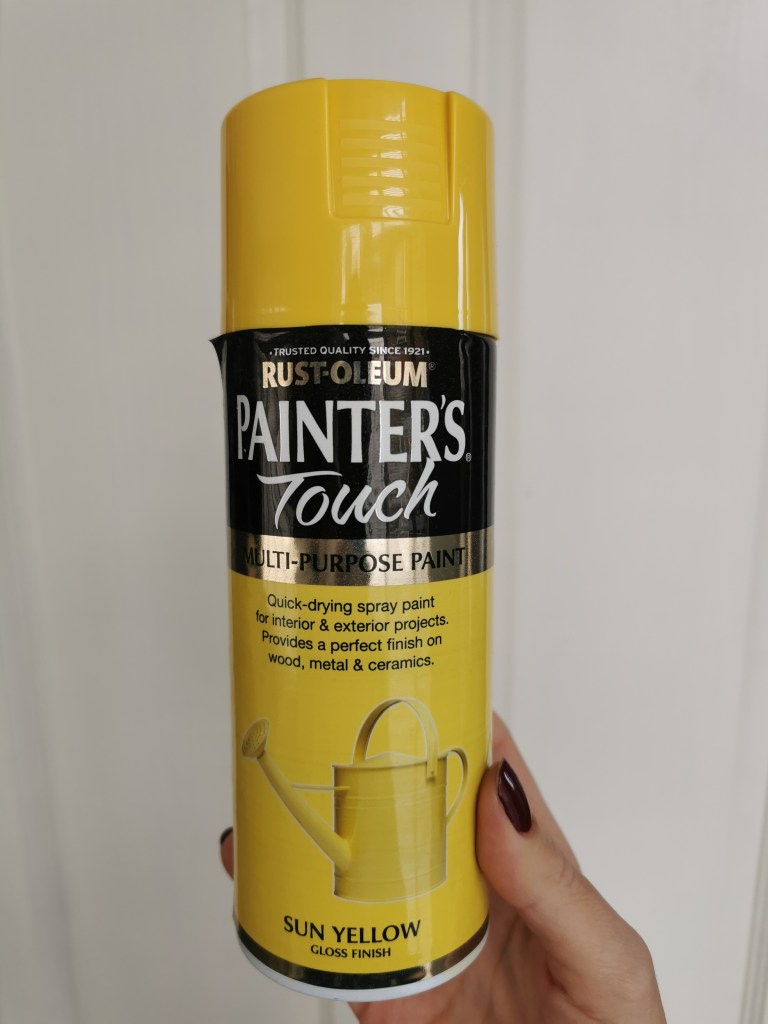
I initially sprayed this shelf unit with a cheap spray from my local hardware shop; it was watery and useless. For certain items, just buy the decent stuff first time round. I’m not saying all your paint needs to be Farrow and Ball, but if it’s proper cheap, it’s probably for a reason. This Rust-Oleum spray worked wonders to transform this shelf for Max’s room. Bonus tip: spray the ends of the screws too so that they blend in!


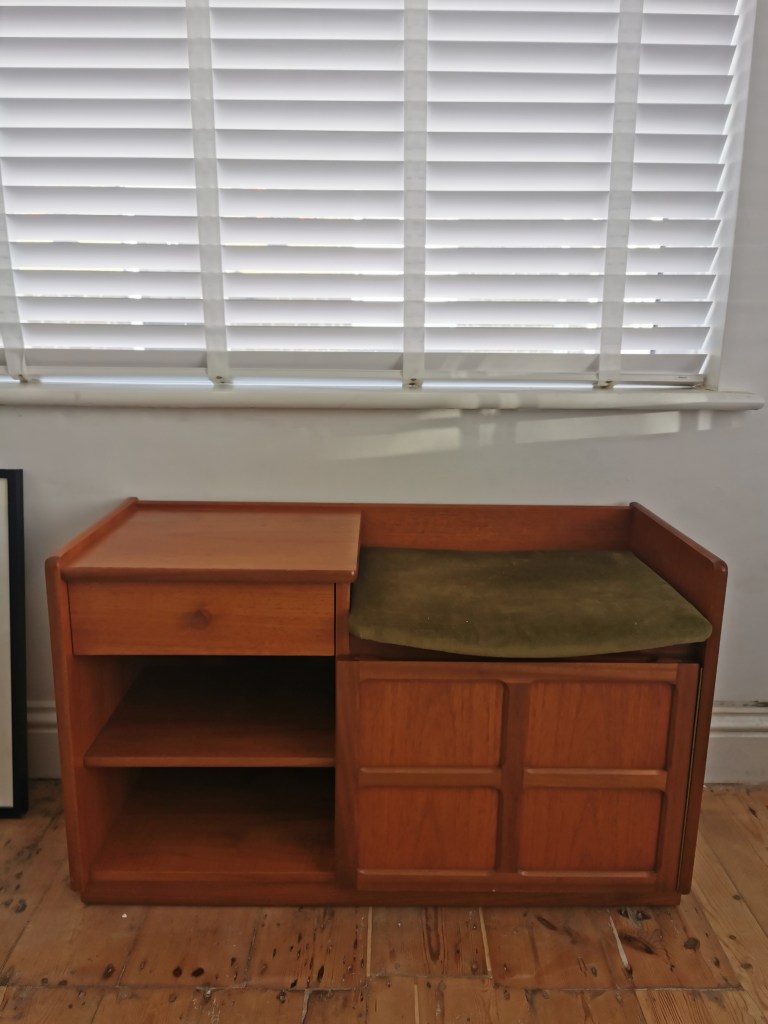
On from this, a decent staple gun is a must, don’t cheap out here! I have a Stanley one and it works wonders to revive and transform old furniture like this phone table my husband found on Facebook Marketplace:

5. Different paints give different finishes
All chalk-based paints are not made equal, friends! I had no idea there’s such variation in the finish different paint brands give. I have a lot to say on this so it’ll be a separate blog post comparing different brands, what the paints were like to apply, the finish they give, and how they’ve stood the test of time.
6. Work in bursts
If you add up the hours spent on upcycling e.g. all the dining room chairs, it seems like an impossible task. However, what I’ve discovered is that it lends itself perfectly to working in bursts. I focussed on one chair at a time and spent an hour here and there sanding in the garden, then in the evenings I’d watch TV with my family while giving it one coat of paint. It never felt like an unending task, but like fun short bursts of creativity.

Lastly, I’d say don’t over-worry. I was getting a bit critical of myself, wanting to make a ‘perfect’ finish. Just do your best; in the grand scheme of things, this is one element of a whole room. Nobody is going to be looking that closely or looking for flaws. If they are, who are they and why are they in your home, goddamit?!
I hope you’ve found this intro to upcycling useful, if you have any more tips please do let me know!

Love the post. Would love to see a project start to finish and what tools, etc you use. Am a little nervous about painting my furniture.
LikeLike
Thanks so much! Yes excellent suggestion, I use very basic tools and firmly believe that if I can do it, anyone can, so I’ll definitely write a post to cover this. Thanks again x
LikeLike